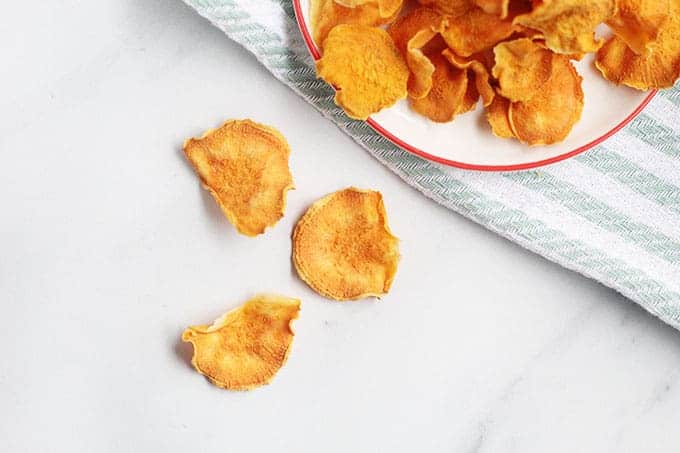
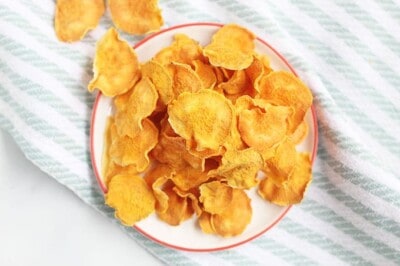
These Baked Sweet Potato Chips are thin, crispy, and happen to be made without oil or added salt. They’re such an easy homemade veggie chip to enjoy together!
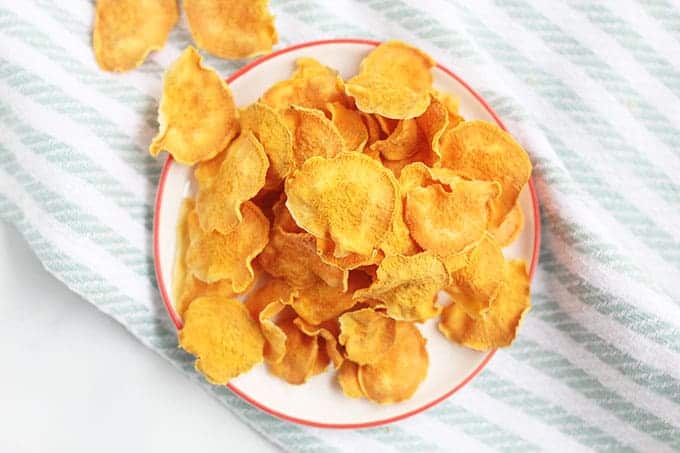
Yay for veggie chips! I have tried making them a lot of ways at home and they almost always turn bitter and brown too fast. So I discovered an easy work around that is almost foolproof and delivers on the crunch that we all crave. (Or at least I do and my girls do!)
The version here, which simply involves slicing a sweet potato super thin with a mandoline and baking the slices at a low temperature, avoids bitterness (and browning) altogether because the oven is cool enough to prevent that from happening.
It’s such an easy way to make homemade sweet potato chips!
(You may also like my Sweet Potato Hummus, Sweet Potato Smoothie, or Sweet Potato Waffles.)
Table of Contents
Your toddler won’t eat? Help is here!
Sign up for our email updates to get tips and ideas sent to your inbox.
Ingredients You Need
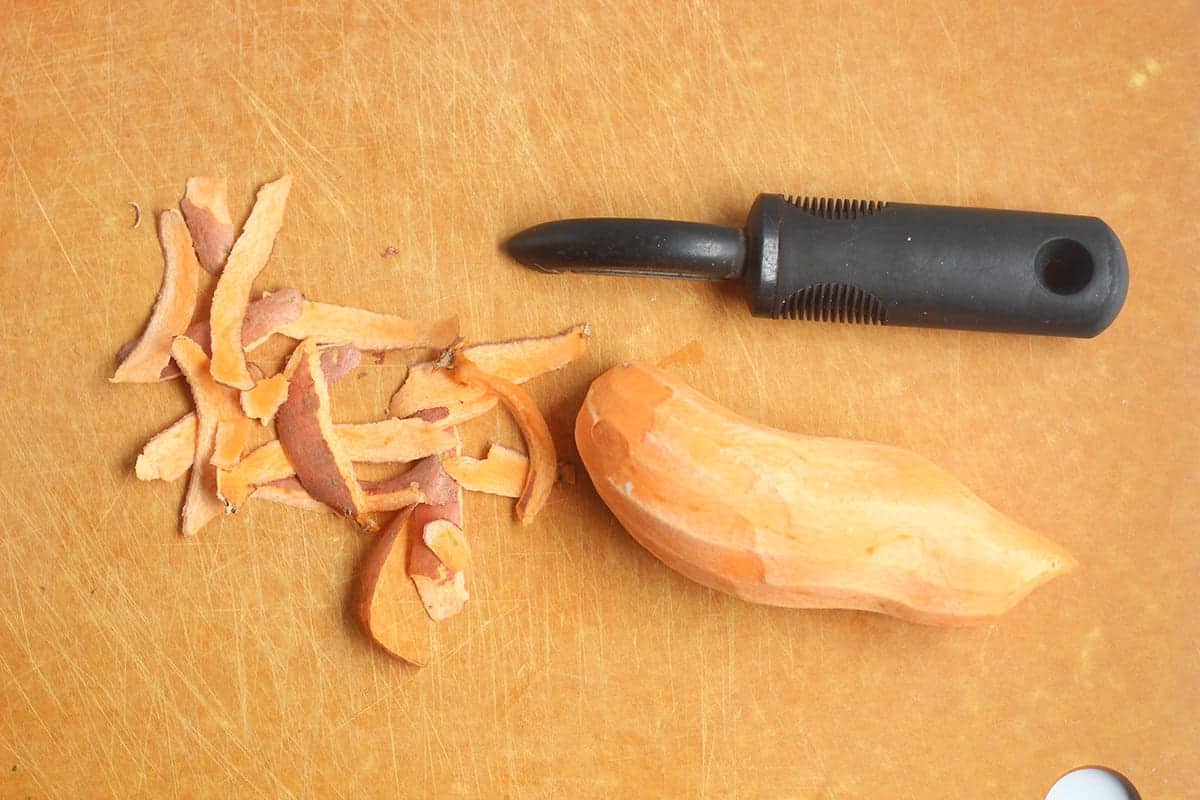
To make these Sweet Potato Chips, you just need a sweet potato. That’s it! I guess you could lightly brush with olive oil and add some salt if you want to, but I love them pure and simple this way.
TIP: Look for orange flesh sweet potato, sometimes called “garnet yam” or “jewel yam” at your store.
Step by Step Instructions
Here’s a look at the process in this recipe. Scroll down to the bottom of the post for the full info.
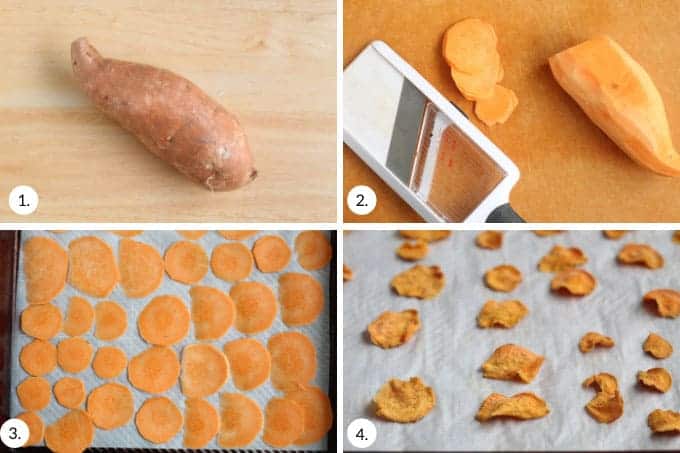
- Peel your sweet potato.
- Slice it thinly using the mandoline.
- Arrange on a parchment paper lined baking sheet.
- Bake!
TIP: These bake low and slow, so they do take a while, but you don’t need to do anything to them while they bake so you can go about your business.
Frequently Asked Questions
If you are an expert slicer and can do slices that are 1/8-inch thick sure! But for most people, that’s really hard so the best way to ensure that these are thin enough is to use a mandoline.
They are high in nutrients, and since this recipe is only sweet potatoes, they make a great healthy snack!
We like them on their own, but you can serve with any chip dip, salsa, or my Cucumber Sauce.
Can I make these without a mandoline?
If you are an expert slicer and can do slices that are 1/8-inch thick sure! But for most people, that’s really hard so the best way to ensure that these are thin enough is to use a mandoline.
Serving Suggestions
We like them on their own, but you can serve with any chip dip, salsa, or my Cucumber Sauce.
Best Tips for Success
- These are best eaten on the day they are made, though they will stay crunchy if stored in an airtight container at room temperature overnight.
- Cooking time will depend on the moisture levels in your sweet potatoes so let them go a little longer if needed.
- You should be able to feel them to tell when they are crispy and done.
- Serve with a dip (like Cucumber Sauce) if desired.
Related Recipes
I’d love to hear your feedback on this recipe if you try it, so please comment below to let me know!
Easiest Baked Sweet Potato Chips (Only 1 Ingredient!)
Ingredients
- 1 medium sweet potato
Instructions
- Preheat the oven to 225 degrees F. Line two baking sheets with parchment paper and set aside.
- Peel the sweet potato and discard the skin.
- Use a mandoline set on the lowest or second lowest setting—or about 1/8-inch thick—to slice into thin slices. Arrange on the baking sheets close together but without overlapping.
- Bake for about 1.5-2 hours minutes, until dehydrated, curled at the edges, and they feel crispy to the touch. (Mine are usually done at 1 hour 40 minutes but it may vary depending on your slices.)
- Let cool and serve.
Notes
- These are best eaten on the day they are made, though they will stay crunchy if stored in an airtight container at room temperature overnight.
- Cooking time will depend on the moisture levels in your sweet potatoes so let them go a little longer if needed.
- You should be able to feel them to tell when they are crispy and done.
- Serve with a dip (like Cucumber Sauce) if desired.



My oven is currently out of commission. Can I use an air fryer? And would it be the same or different??
I haven’t tested it that way so I can’t say for sure but I’ll let you know if I try it!
Thank You for Sharing this informative Article! It is Very Useful To Everyone. Stay Healthy and keep Safe!
Hi thanks for this post. However am I misunderstanding that it says baked low and slow but on method, using 200degree? ?
Sorry for silly question. I try similar one before by myself, and it was either too soft or too hard at 200. I just wanted to do better one this time if I do! ?
I’ve found that baking them for a longer duration at the lower temperature makes them crunchy without the risk of burning.