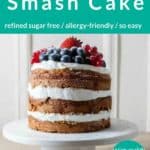
This First Birthday Smash Cake with Yogurt Frosting is an easy and super special first birthday cake. It’s moist, flavorful, and so yummy—and has the creamiest yogurt frosting. Find everything you need to make this vanilla oat smash cake, plus allergy-friendly and make-ahead options.
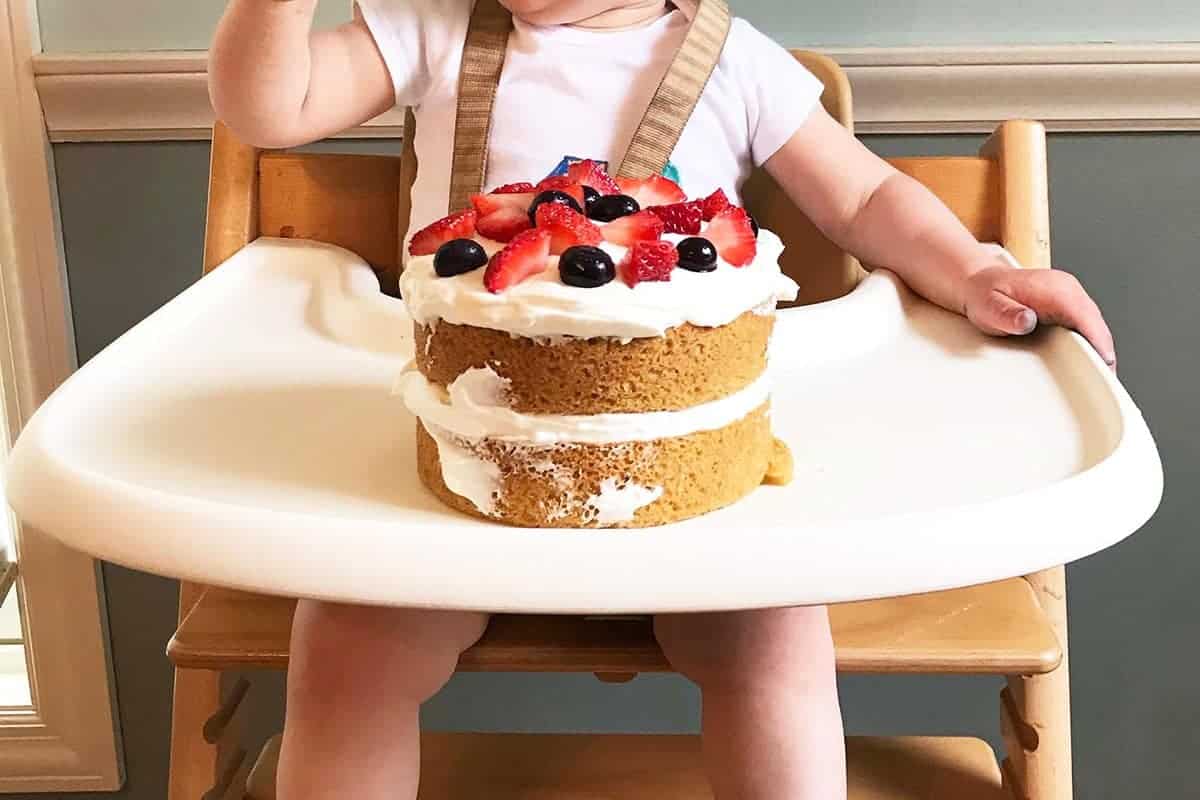
I first learned to make this healthy first birthday cake from a friend when she made it for her daughter Ruby, and I’ve now made this cake about a dozen times in various forms over the years. I love both how easy it is to make—no special skills required!—and how good the final result tastes.
The tender crumb of the smash cake is paired with a yogurt-based frosting for results that are as delicious as they are fun for the kids to smash.
This is a perfect first birthday cake option since it’s sweetened with maple syrup and has plenty of flavor and healthy fats. It can also be made ahead of time too, which is helpful when planning first birthday party ideas for a little one.
(You may also like Blueberry Smash Cake, Sweet Potato Baby Cake, and my full list of Kids Birthday Cake Recipes.)
Table of Contents
Your toddler won’t eat? Help is here!
Sign up for our email updates to get tips and ideas sent to your inbox.
1st Birthday Smash Cake Recipe
This healthy first birthday cake is made with whole grains and natural sweeteners and is a fun way to celebrate the big day! The cake tastes like maple and vanilla, with a slightly tangy yogurt frosting.
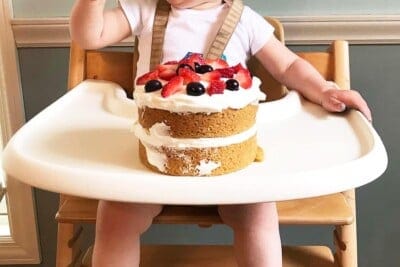
We like to top it with fresh fruit for a simple and bright finish.
What’s a smash cake?
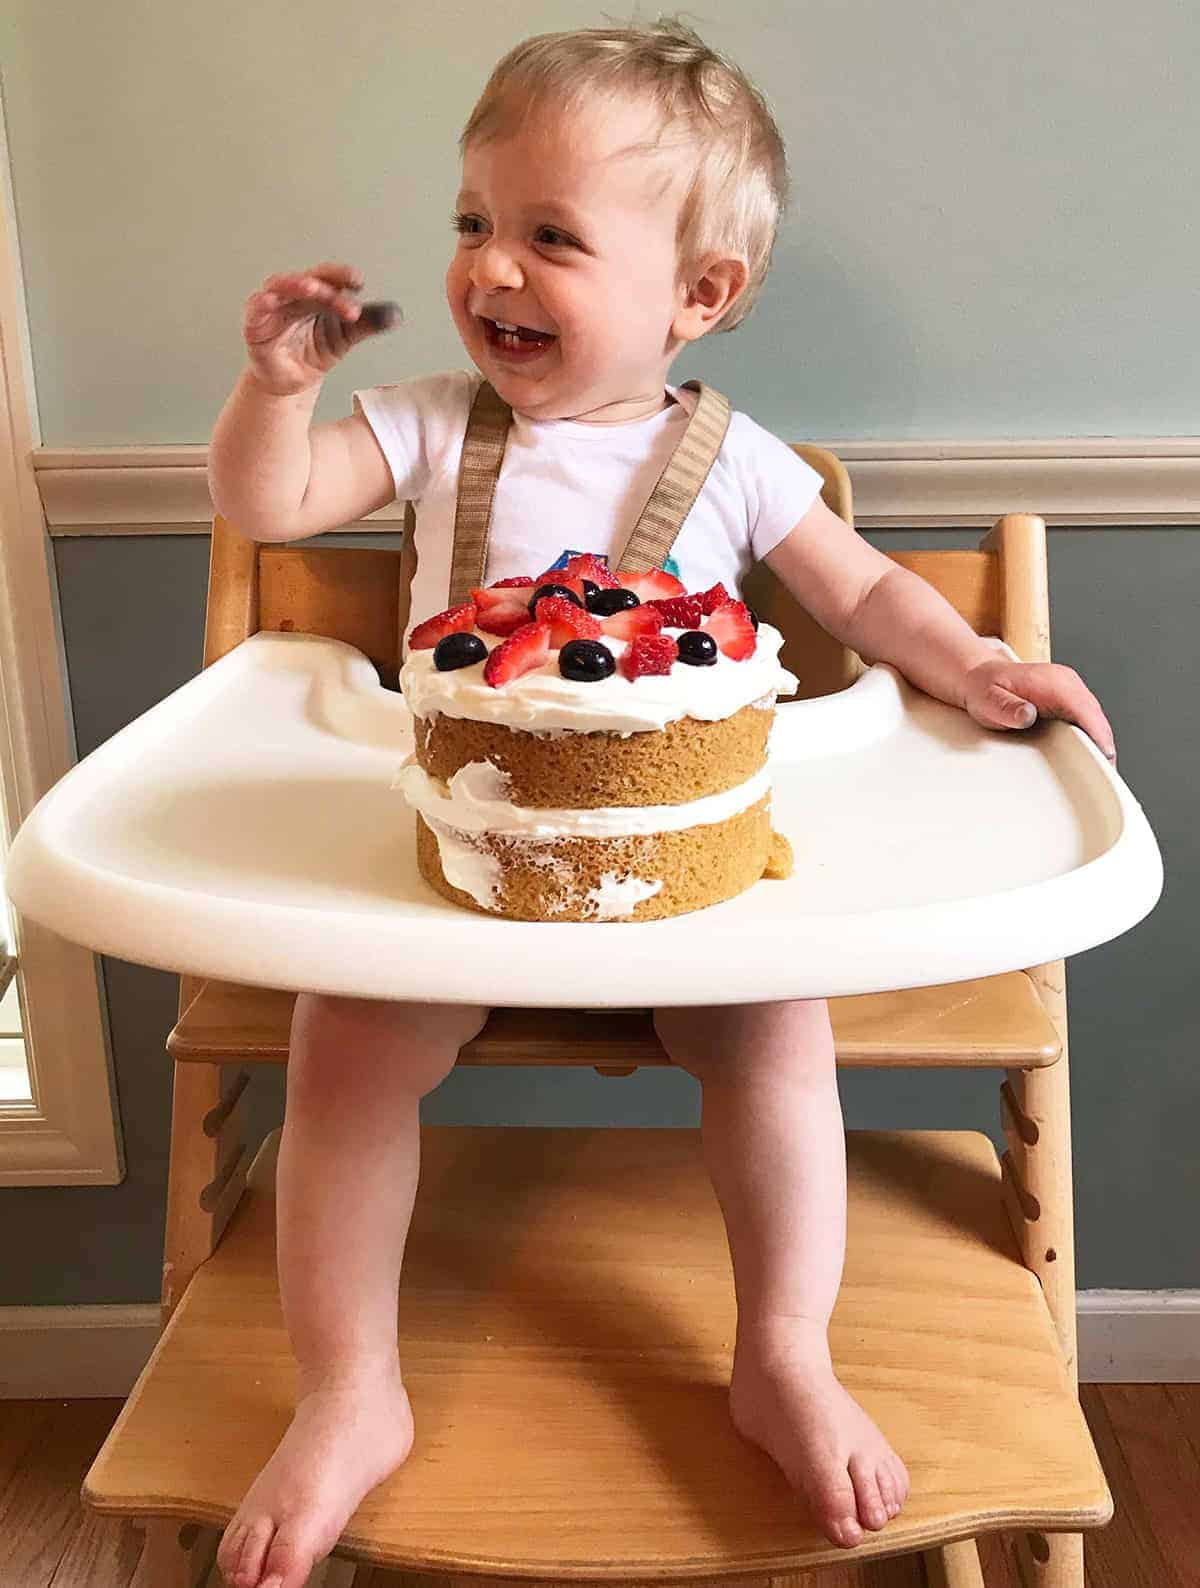
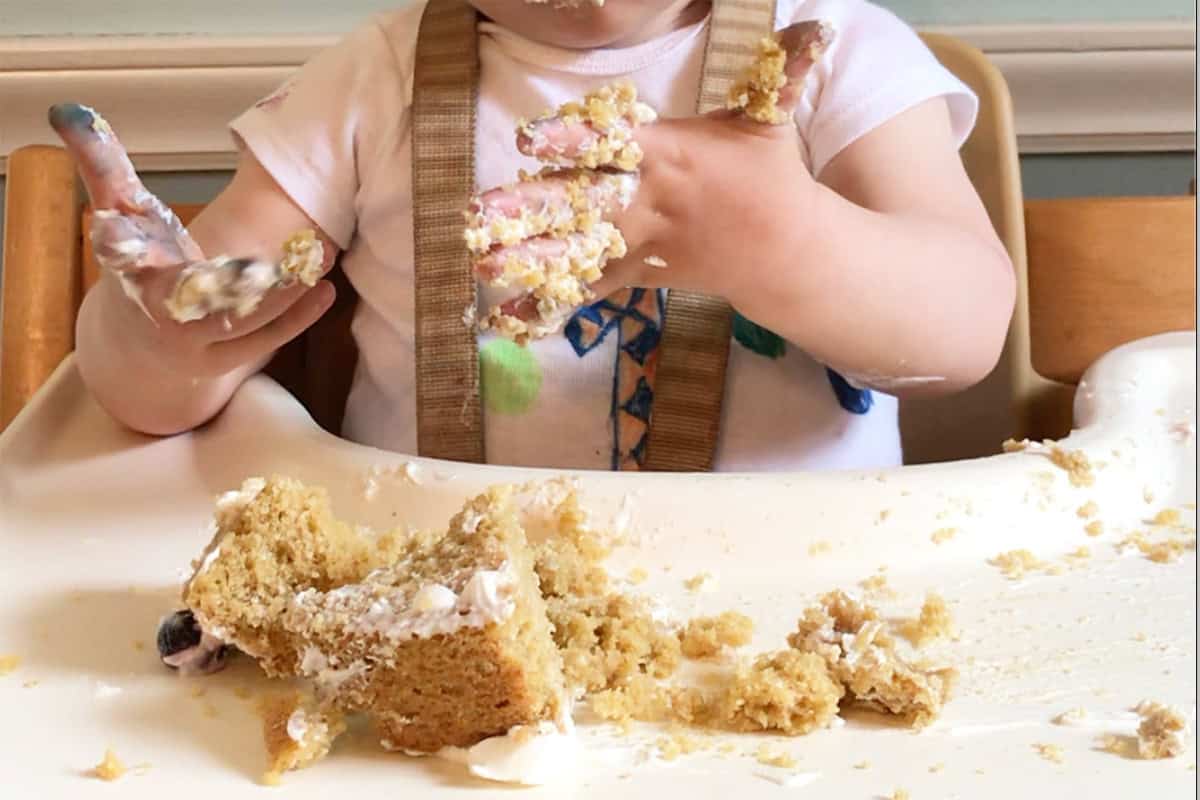
A smash cake is a first birthday cake meant for a baby turning 1. The idea is that they will eat, smash, and generally make a mess of it as they explore this new food by using their hands and sometimes their bodies! (It’s usually placed in front of baby on a highchair or on the floor on a sheet or drop cloth.) It’s a fun tradition to mark a big milestone, and this version of a smash cake is an easy one to make at home.
TIP: You can place the cake onto the baby highchair, or onto the floor with baby set on top of a sheet to contain the mess a bit.
Ingredients You Need
Here’s a look at what you need to make this first birthday smash cake recipe to share with baby so you know what to have on hand.
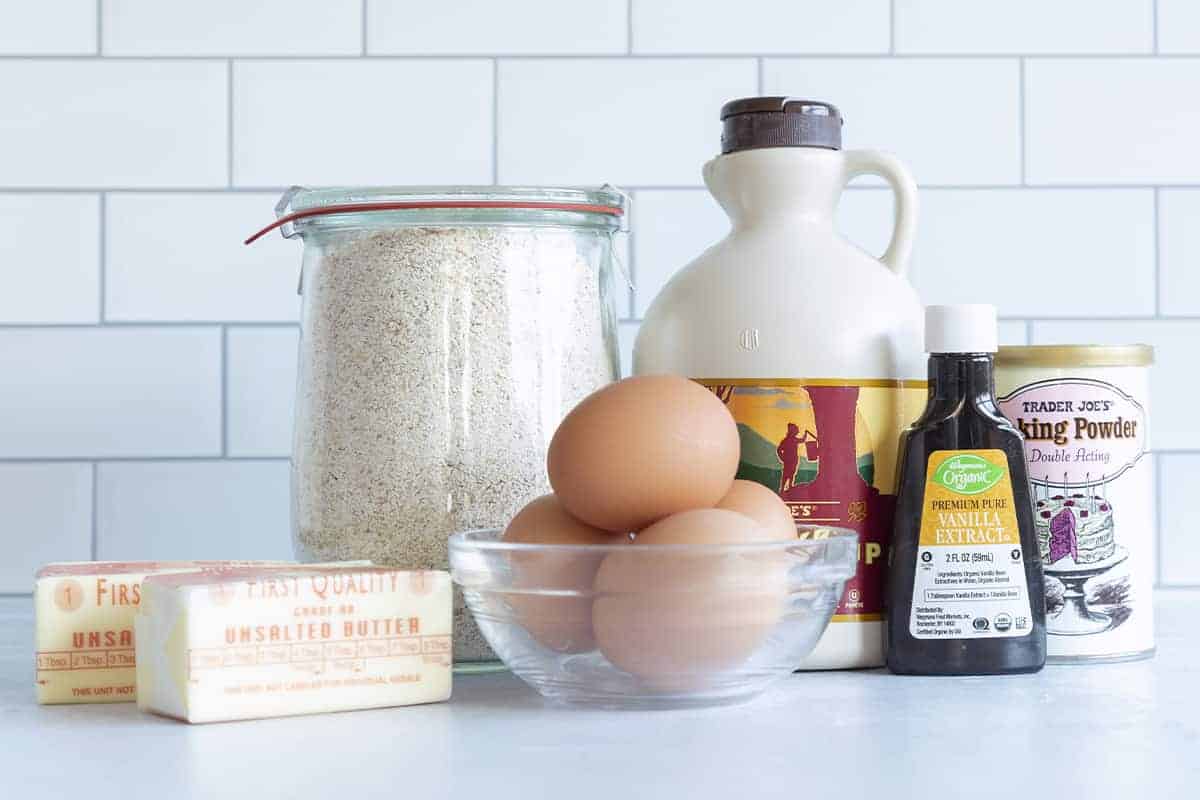
- Oat flour: You can use store-bought oat flour or make your own by grinding rolled oats into a fine flour in the blender. I love using this ingredient because it creates a wonderful texture and adds nice flavor to the cake.
- Eggs: I bake and cook with large size eggs, so plan to use them here. They help bind the batter together and give the cake structure.
- Butter: I use unsalted butter in baking so it’s easy to control the level of salt in the recipe.
- Maple syrup: This natural sweetener adds flavor, sweetness, and moisture.
- Vanilla extract: You can use regular vanilla extract or an alcohol-free option.
Ingredient Substitutions
Gluten-Free First Birthday Cake: If you need to make this gluten-free, you can use certified gluten-free oats or gluten-free oat flour.
Dairy-Free Smash Cake: You can make this recipe without dairy by using coconut oil and a dairy-free yogurt. See the Notes section at the bottom of the recipe card for the details.
Egg-Free Smash Cake: To make this without eggs, there are a few adjustments you’ll want to make to the batter, including adding ripe banana and a small amount of regular flour to help bind the batter together. The banana flavor is subtle and the cake is moist and sweet. See the Notes section at the bottom of the recipe for the details.
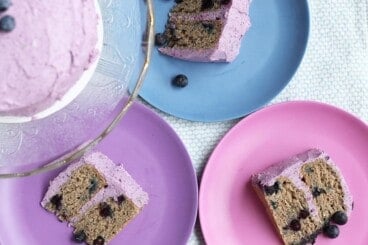
(This Blueberry Smash Cake is also egg-free.)
Step-by-Step Instructions
The process for making this first birthday cake is simple. Here’s a preview of the process so you know what to expect. Scroll down to the end of this post for the full recipe and all the variations.
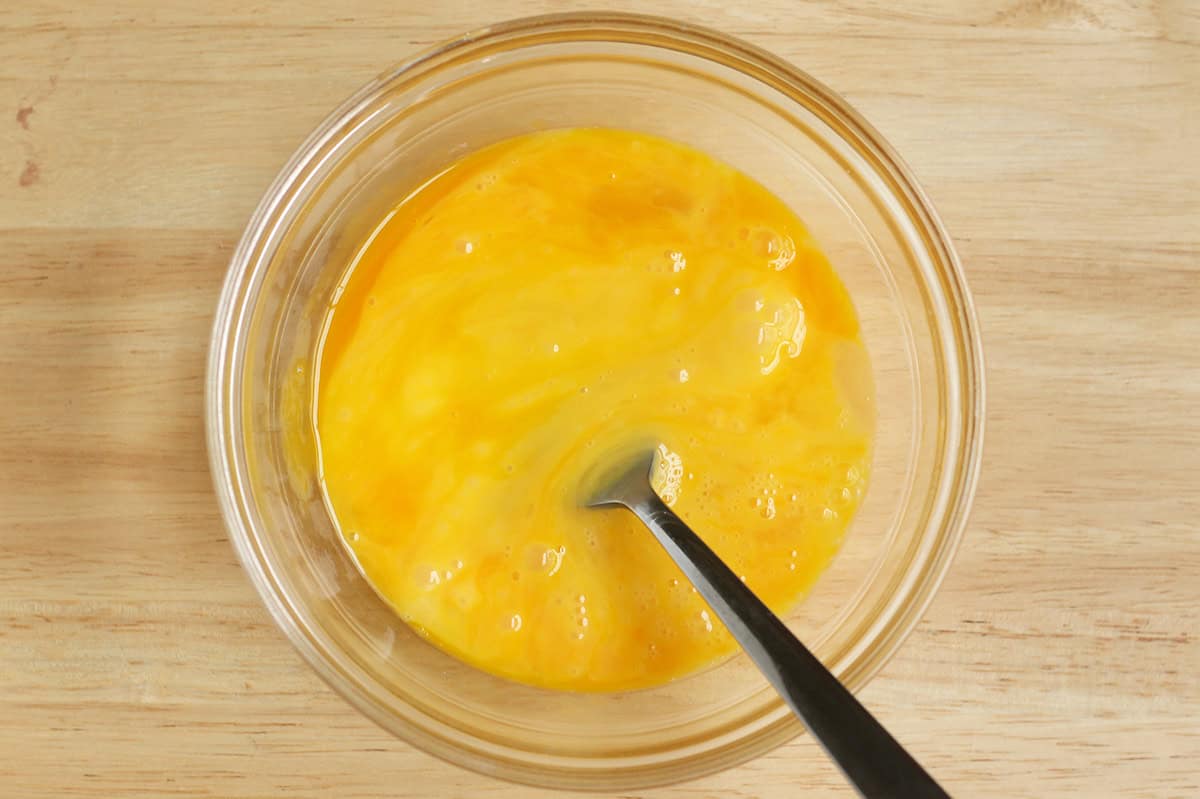
Step 1. Lightly beat the eggs. Add the rest of the wet ingredients and stir.
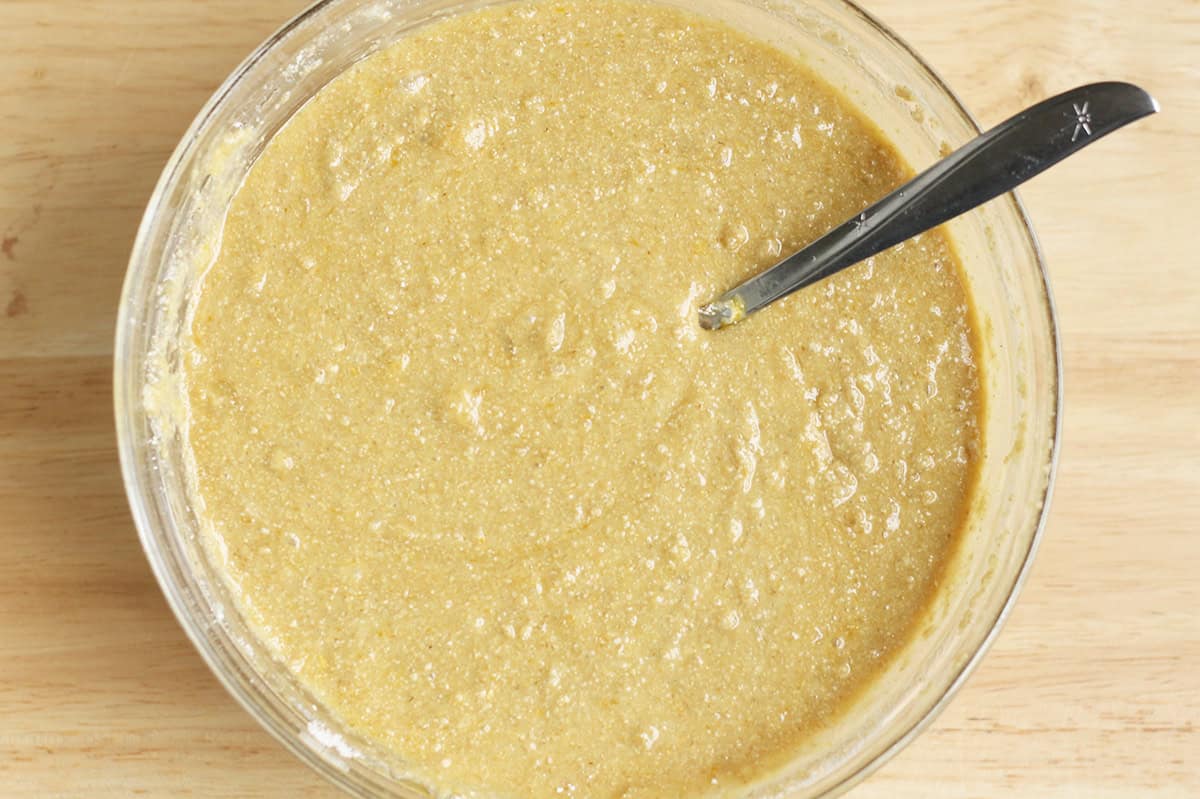
Step 2. Gently stir together the dry ingredients and add to the wet.
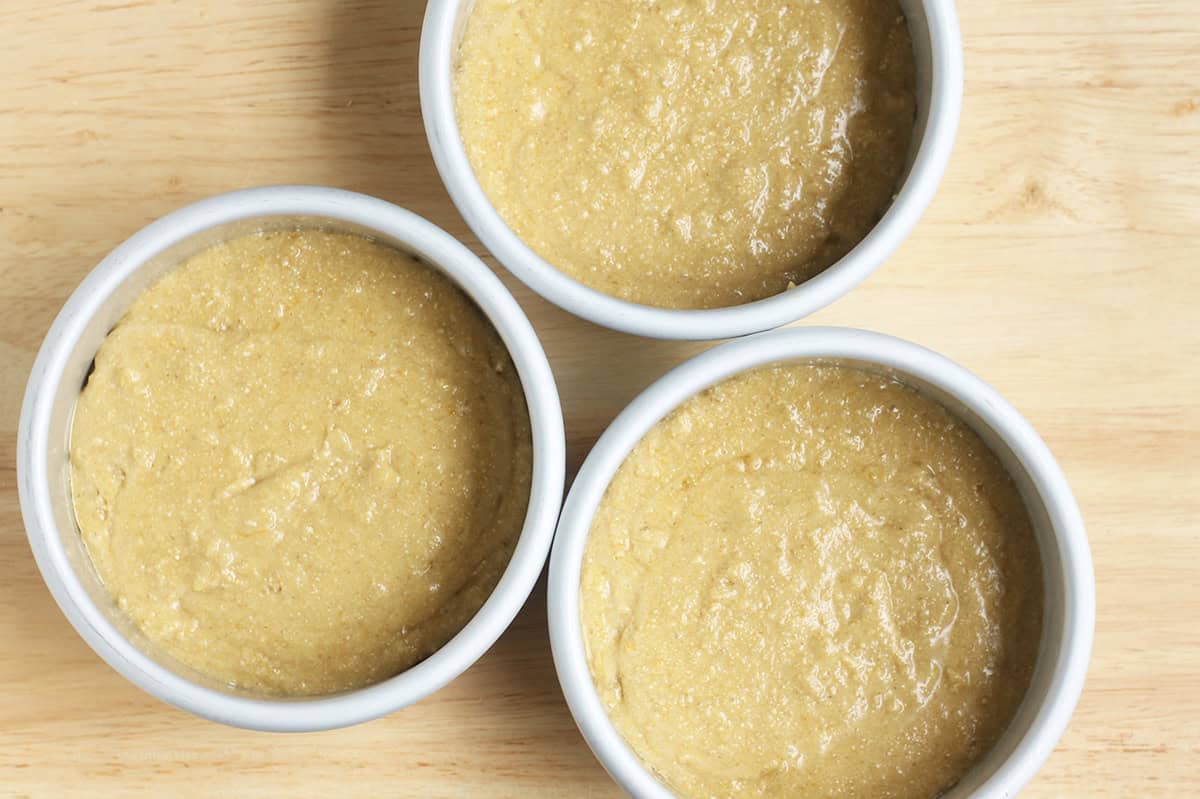
Step 3. Divide the batter between greased cake pans. Bake until lightly golden brown around the edges and a cake tester inserted into the center comes out cleanly.
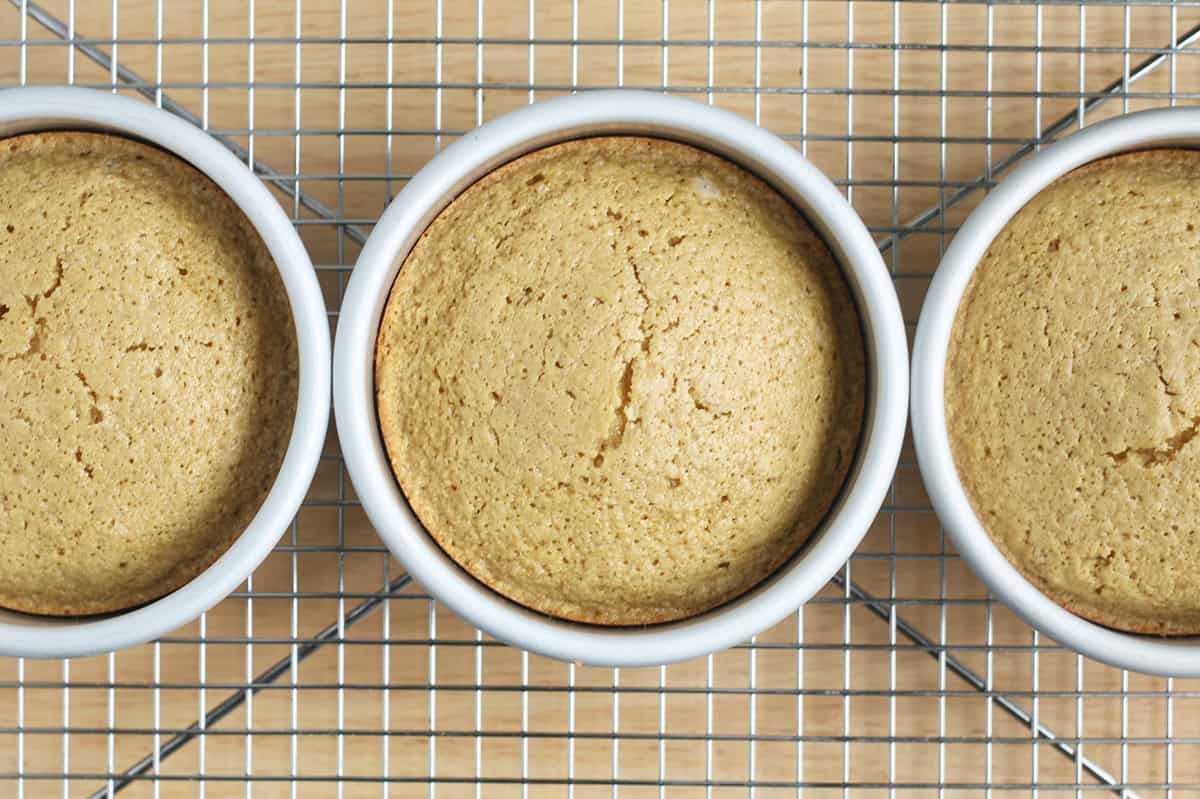
Step 4. Let the cakes cool on a wire rack while still in the pan. The cakes must cool completely to hold their fluffy structure.
TIP: You can make this recipe in 5-inch pans, 6-inch cake pans, 8-inch cake pans, or cupcakes.
How to Make Yogurt Frosting
The frosting for this smash cake is made with whole milk plain Greek yogurt, a little maple syrup, and a touch of vanilla extract. It’s slightly tangy from the yogurt and super simple to make. (And there’s no need for cups and cups of powdered sugar to make it thick and spreadable!)
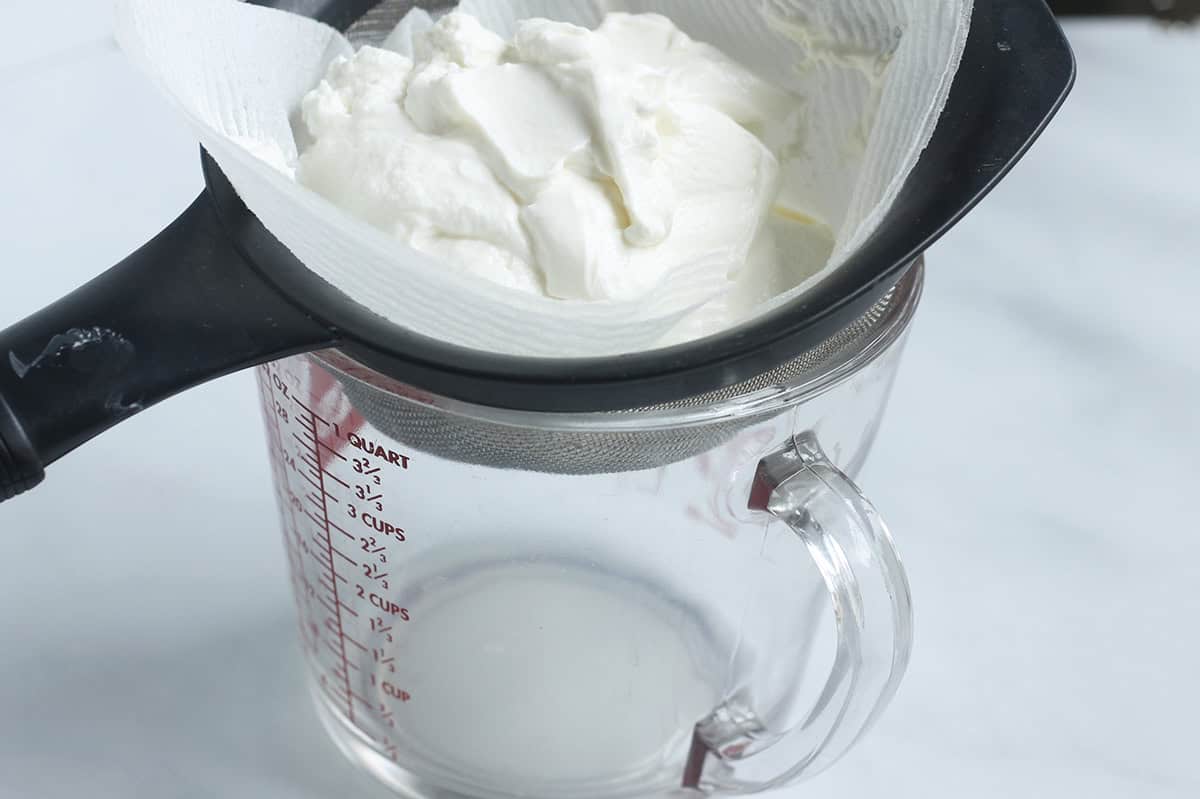
Step 5. Strain the yogurt in a fine-mesh strainer lined with cheese cloth or paper towels over a bowl. This makes it thicker, as it helps to remove some of the liquid in the yogurt.
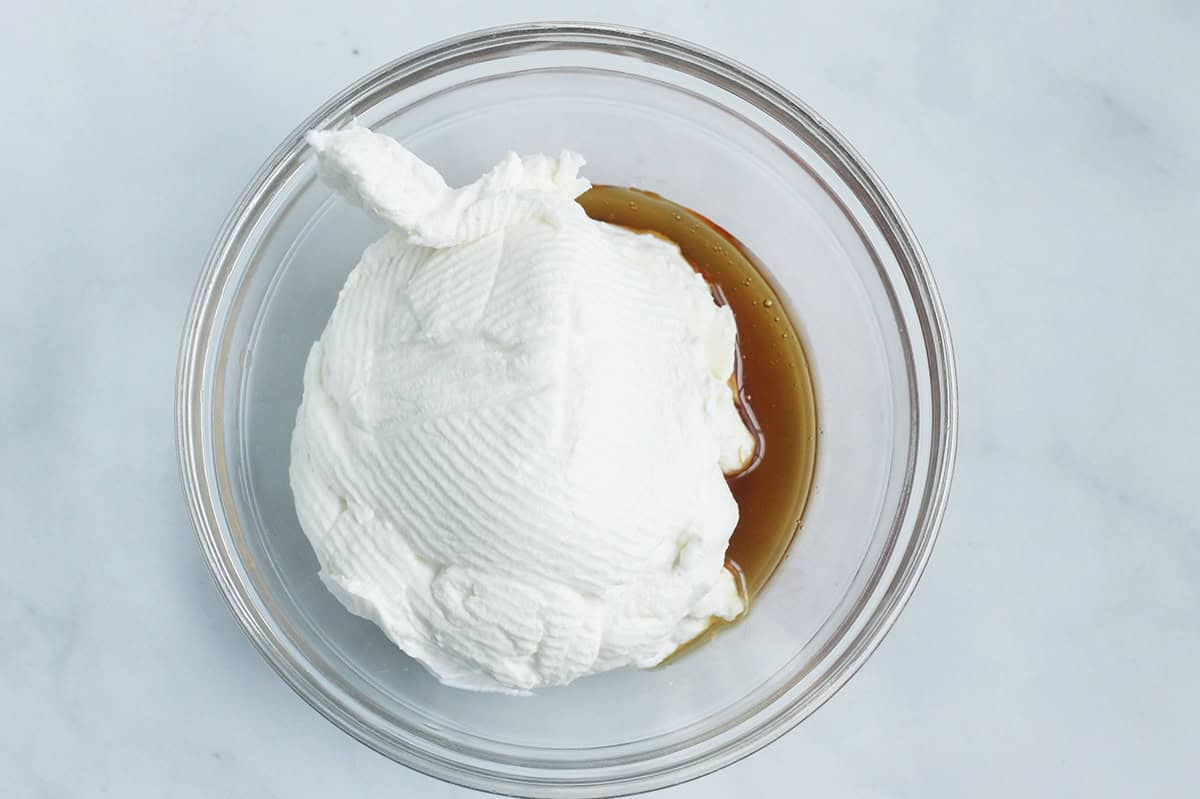
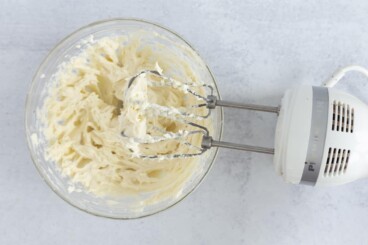
Step 6. Stir yogurt together with maple syrup and vanilla in a bowl. You can use a spoon or a hand-held mixer if you prefer.
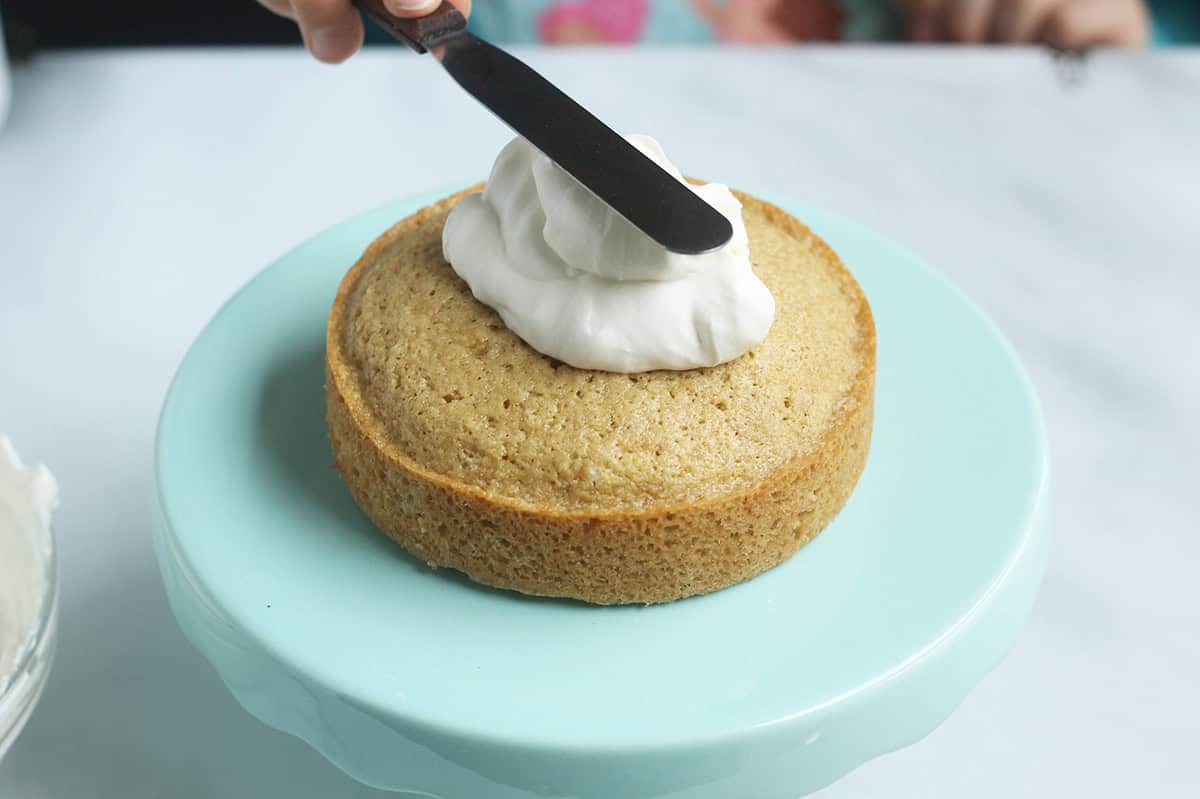
Step 7. Add some frosting on top of the first layer. Spread. Add another cake and more frosting.
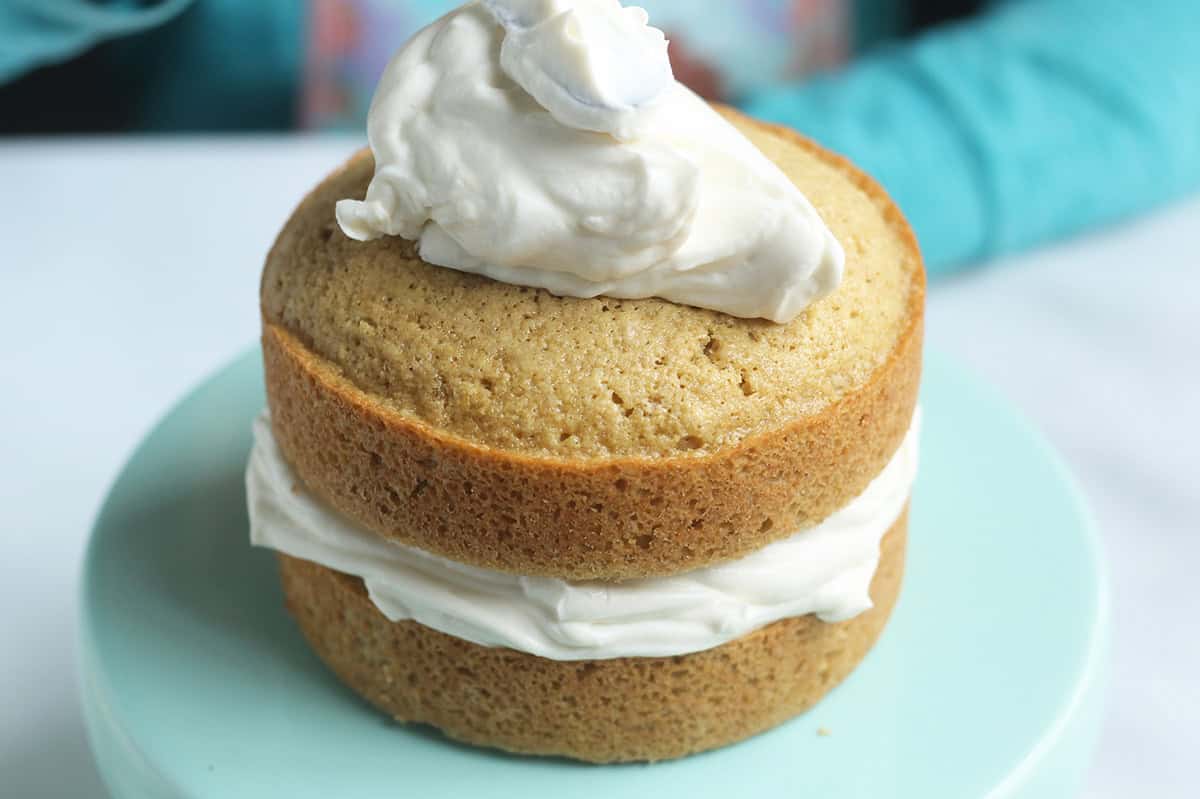
Step 8. Add the third cake, if using an additional cake layer. Top with the rest of the frosting. Add berries if you’d like.
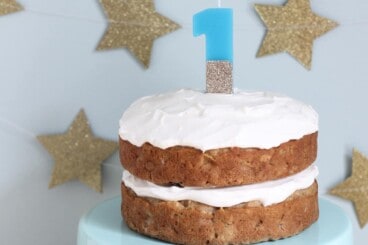
TIP: You can leave it plain, top the layers with berries, add sprinkles, or add a candle for baby’s first birthday.
Frequently Asked Questions
It does contain natural sugars from maple syrup. Your little one’s first birthday is a big celebration, so it’s only fitting that they have a really special cake to mark the day! (Though this is so good you might hope they don’t smash it so you can have a piece for yourself. I usually use just two layers of the cake for the smash cake and save the third one so the rest of us can have a slice!)
TIP: If you want to use less maple syrup, a few people have replaced half of it with very smooth mashed bananas.
This cake, due to the oat flour, is a little denser than a traditional yellow cake. It will smash just fine, though, and has a wonderful flavor from the maple syrup and vanilla extract.
A smash cake is a cake meant to be placed in front of a baby on their first birthday and smashed, eaten, or explored in any way the child chooses. A cake is usually just sliced and enjoyed.
How to Store
This is a great first birthday cake to make in advance, especially if you’ll be busy celebrating your new toddler on their big day. Simply bake the cakes and make the frosting the day before. Store the cakes, once fully cooled after baking, in airtight containers (in one layer) at room temperature.
Store the frosting in an airtight container in the fridge.
TIP: I recommend frosting the first birthday cake just before serving, but you can frost up to an hour ahead and leave it at room temperature.
Make Ahead Tips
To Make the Cakes Ahead: You can bake the cakes up to a day ahead. Let cool fully on wire racks and store at room temperature in an airtight container. Frost just before serving.
To Make the Frosting Ahead: Prepare the frosting as directed and store in an airtight container in the fridge for up to 24 hours
Best Tips for Success
- Let the first birthday cakes cool in the pans on a wire rack for 10 minutes before turning them out onto the rack for the best texture.
- You can try making this 1st birthday cake with whole wheat flour if you prefer—though check for doneness closer to 18-22 minutes and stir very gently to avoid overworking the batter.
- To Use Three 4-Inch Pans: Divide the healthy smash cake recipe in half. The baking time will be 16-18 minutes and the layers will be slightly thinner than shown here.
- To Use Three 6-Inch Pans: The baking time will be 20-22 minutes, and the layers will be slightly thinner than shown here.
- To Use Two 8-Inch Pans: Bake in two 8-inch round cake pans, using about 2 cups of batter in each pan and baking for 18-20 minutes. The layers will be thinner than shown here.
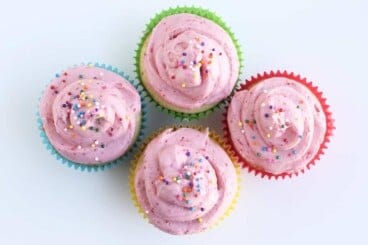
- To Make as Cupcakes: Use about 3 tablespoons of the batter in each paper cupcake liner to make about 16 cupcakes. Bake for 18-20 minutes or until golden brown around the edges and a cake tester inserted into the center comes out clean (I did 20 minutes). The rest of the recipe is the same.
Related Recipes
I’d love to hear your feedback if you try this first birthday cake, so please rate and comment below to share!
First Birthday Smash Cake (with Yogurt Frosting)
Ingredients
Greek Yogurt Frosting
- 1½ cups whole-milk plain Greek yogurt
- 2-3 tablespoons maple syrup
- ¼ teaspoon pure vanilla extract
Vanilla Oat Cake
- 3 cups oat flour
- 2 teaspoons baking powder
- ½ teaspoon salt
- 12 tablespoons unsalted butter (melted and slightly cooled)
- 1 cup maple syrup
- 4 eggs (lightly beaten)
- 2 teaspoons vanilla extract
- 1 cup fresh berries to garnish
Instructions
To make the Frosting:
- Place 1½ cups whole milk yogurt in a sieve or fine-mesh strainer lined with a paper towel with a bowl underneath. Let sit for 30 minutes or up to overnight, covered in the fridge. (This helps ensure that the frosting is nice and thick.)
- Transfer the yogurt to a bowl and stir in 2-3 tablespoons maple syrup and ¼ teaspoon vanilla extract. Refrigerate until ready to use.
To make the cake:
- Preheat the oven to 350 degrees F.
- Trace one 5-inch cake pans onto parchment paper and cut out three times to make the rounds. Trim slightly to fit inside the bottom of each pan.
- Grease three 5-inch cake pans with nonstick spray and place a round of parchment inside of each. Grease again.
- In a medium bowl, whisk together the flour, baking powder, and salt.
- In a separate medium bowl, whisk together the melted butter, maple syrup, eggs, and vanilla until smooth. Add the flour mixture and stir until just combined.
- Divide the batter evenly between prepared cake pans, using about 1⅓ cups batter in each pan.
- Bake until a toothpick inserted in the center of the cake comes out clean, about 22-26 minutes. Remove from oven and place pans onto a wire rack. Let cool for 10 minutes in the pans, then carefully invert to cool fully. Discard parchment paper rounds.
- To assemble, place one cake on your serving plate. Top with about ⅓-½ cup of frosting, spreading it in an even layer just past the edges. Add the second, repeat with frosting, and then repeat with the third cake . Use an offset spatula or knife to scrape off the frosting overhang for a "naked" cake look, or use additional frosting to coat the entire cake.
- Top with berries and serve…as in, let the birthday kiddo dig in!
Video
Notes
Nutrition
This post was first published May 2017.


How many grams is the 1 Portion Greek Yoghurt Frosting?
Im wanting to try this for my son’s 2nd birthday (Dec 1st). Any idea how it would hold up in a mold? I have a train mold for his theme. Thanks!
I haven’t baked this in a mold so I can’t say for sure. It does firm up a lot when it’s refrigerated so you might want to let it cool completely in the pan, then stick it into the fridge before you unmold it. And grease it well. Sorry that I can’t say for sure one way or the other but please let me know if you try it!!
Can you use 6 inch cake pans? Would you have to change the amount of ingredients or just the baking time? Thanks!
Hi! I haven’t tried it in that size of a pan so I can’t say for sure, but the layers would be slightly thinner and may be ready 1-2 minutes earlier. You can check for doneness with a cake tester inserted into the center of the cake. It should come out cleanly.
Hi! I just made this awesome cake for the little one’s first bday using the 8″ pan recipe for a double cake. When I went to place the second layer on top of the first it started to fall off the cake and just fell apart. So I just left it as one 8″ layer topped with berries and it came out wonderful. I noticed that when I put the finished cake in my fridge, the frosting hardened so I’m wondering if I should have done this before placing the second layer onto the first layer after initially icing the first layer. I actually prepared the frosting portion of this recipe the day before and left it in the fridge covered by saran wrap in a bowl – this did not harden it, but it hardened on top of the cake when I left it in the fridge on a cake plate uncovered. I’m not a baker so I’m assuming my second layer completely fell apart because I did not let the frosting harden on the first layer first and just placed it on top. Any thoughts on this? I’d love to remake it again the future!
Hi! If you try it again with the larger size, I’d let them cool at least an hour—they will be more tender when warm so aim for them to be totally cooled down. You can also invert the cake onto a cooling rack, then gently slide it over onto the top of the other cake. Since these don’t have gluten, they do tend to be more delicate for sure. You could also try refrigerating the cakes for 30 minutes before assembling to help them firm up a bit. I’m glad that the one layer was a success though!
Can you make the Greek yoghurt frosting chocolate?
I haven’t tried it but you could stir in 2 tablespoons cocoa powder and adjust the sweetener if needed (you may need a little more to balance the flavors)!
Hi I used all purpose flour because I couldn’t find oat flour. Is that the reason why my cake
Came out sort of hard? I used 5 inch pans, and I baked it for 15 minutes. I preheated to 350 and then bakes it for 15 mins. Should I go look for oat flour or can I do something differently with all purpose flour? This was a trial bake. Thank you
Hi! I haven’t tried this with all purpose flour so I can’t say for sure, but I would mix it very gently to avoid overworking the gluten and check for doneness around 12-14 minutes. I know it has a softer texture with oat flour (you can grind oats in the food processor or blender if you can’t find packaged oat flour—see the step by step info for details!)
Hi Im looking to try this recipe for my baby boys first birthday. I wanted to decorate it ombre style (and I know that Ombre works well with buttercream) 1. Do you know whether buttercream would compliment this recipe. 2. Do you know whether ombre style work with your frosting recipe above? – would much rather go with the healthy alternative! 🙂
3. As a third option If I go ahead with frosting for sandwich and use buttercream for decorating would that also work?
Sorry for so many questions I hardly bake and want to make sure it turns out well. Any help would be much appreciated. Thanks in advance!
Hi! I see no reason that buttercream wouldn’t work for this if you want to go that route. I do think you could do the ombre effect with this frosting, though I haven’t tried it. And yes, you could use this frosting in the middle and buttercream on the outside. One note on buttercream: I used it for a cake for my older kiddo in the spring and it was humid and the frosting started to slide down the cake since it sat at room temperature for a bit. So keep that in mind (and stick it into the fridge!) if you make it much ahead of when you plan to serve it. I’d love to hear and see how it goes and happy almost birthday to your boy!
Thank you so much for your reply. Will let you know how it turns out 🙂
Hi Amy
I would like to say a big thank you for sharing this recipe. Our baby boy had his cake smash yesterday and it turned out well.
I tried the ombre style and was pretty impressed with it! Thanks
I’m so happy to hear that and I hope it was a happy day!
We made this today and both our birthday boy and the adults loved this cake! Thank you!
Hooray and happiest birthday to your boy!
Can I use Gluten Free 1 to 1 Baking Flour instead of Oat Flour?
Also my baby is allergic to egg whites, can I use egg replacer (the powdered ones)?
Hi! I haven’t tried using the gf flour but I’ve had great success baking with that type of flour so I’d love to hear how it goes if you do try it. I also haven’t tried using an egg replacer—does it typically work well in baked goods? I mostly use flax eggs (ground flaxseed and water) as egg replacers but I haven’t tried that variation on this recipe.
I tried this with coconut sugar and found it needed a lot longer to bake for some reason. Any ideas why?
I’m not sure—it honestly could just have been a difference in ovens or the pan. I hope it turned out okay otherwise!
Could this cake be made a week in advance and frozen?
I think that would work well! Be sure to let it cool fully and wrap it well first. Thaw overnight in the fridge or at room temperature.
I don’t suppose anyone has tried this with blueberries in the batter? Just curious as I think my girl would be a huge fan of that. Thank you!
I haven’t tried that but I suspect it would be delicious. I wouldn’t add more than 1/2-1 cup to make sure the batter holds together still (and I’d use fresh so they don’t bleed into the batter too much)—please let me know if you try it out!
Do you know if anyone has tried the blueberry idea? My daughter would love it. I am concerned about it holding together, as you mentioned.
I haven’t heard, though I think it will work just fine as long as you don’t add too many. I’d try sprinkling a few over the top of the batter when you fill the pans and press just slightly on them. Please let me know if you try it!
Can these be made as cupcakes? Any difference in the recipe? I’m a non-baker looking for something super easy for my upcoming 1 year olds bday. Thanks!
Hi! I haven’t tried these as cupcakes, though there is a single cake option at the bottom of the recipe card. I can certainly test them as cupcakes if you have a little time!
I’ll wing it and see how it goes. I’m going to make it on Wednesday 5/23.
I tested them this morning to make sure you don’t have to wing it! I did 3 tablespoons of the batter in each paper cupcake liner and the recipe made 8 cupcakes. Bake for 18-20 minutes or until golden brown around the edges and a cake tester inserted into the center comes out clean (I did 20 minutes). The rest of the recipe is the same. Enjoy!
Thank you so much for the help! I’m making them in the morning and will report back!
What can you substitute for the honey since babies shouldn’t have honey?
Kids over the age of 1 can have honey, so we’re assuming that they will have just turned 1. If you’d like to substitute it, you can try brown rice syrup.
You’re not supposed to cook honey…
For what reason? I haven’t heard that and bake with honey all the time.