Put those fresh apples to good use in this delicious and easy Apple Crisp. It features a simple method and quick baking time and is a great way to use freshly picked apples—or ones you have lingering in your fridge.
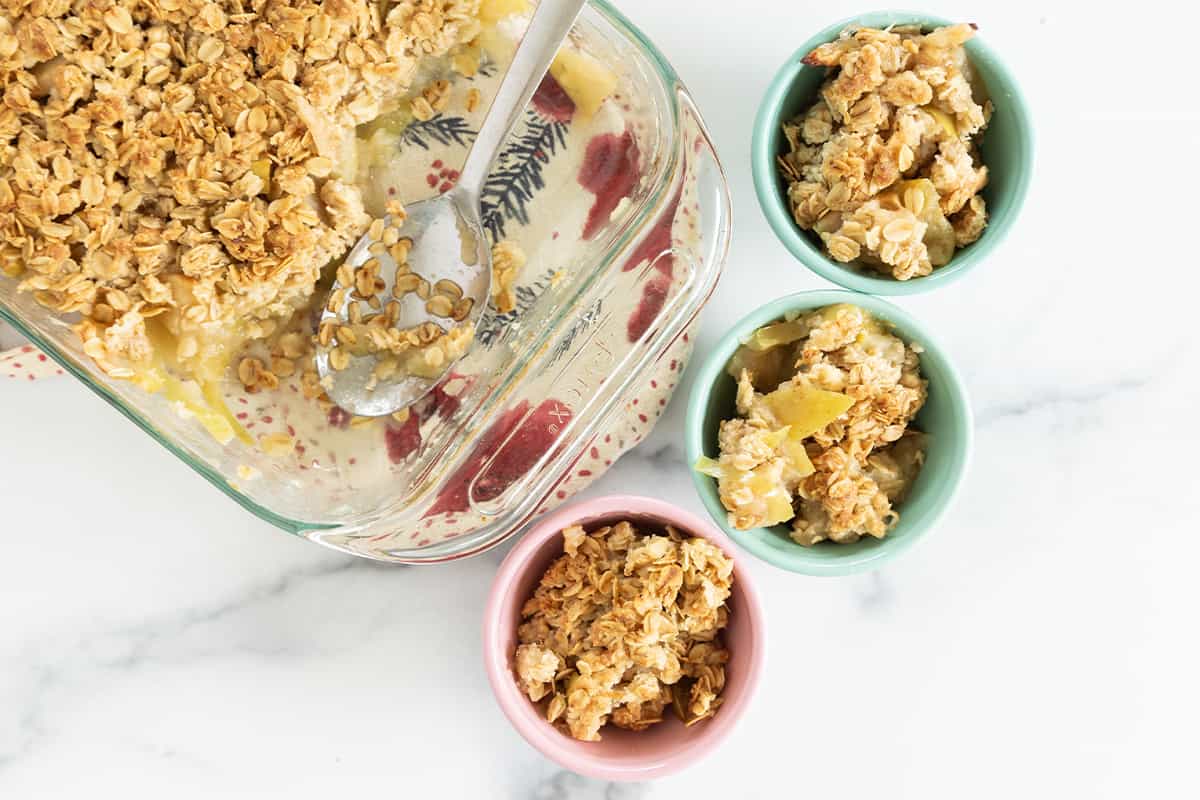
I am a huge fan of fruit crisps because they are so much faster than pie and every bit as delicious. And they are an easy way to make a dessert that feeds a lot of people with minimal effort—and the leftovers are just the most delicious breakfast.
This Apple Crisp is easy to make and is filled with fall flavors like cinnamon. It pairs really well with vanilla ice cream, whipped cream, or even yogurt. You can easily adjust it to make it gluten-free or as a dairy-free recipe for kids if needed, and it stores well, so you can make it ahead if you prefer.
(You may also like my Peach Crisp, Apple Cinnamon Pancakes, Applesauce Cake and Blueberry Crisp.)
Table of Contents
Your toddler won’t eat? Help is here!
Sign up for our email updates to get tips and ideas sent to your inbox.
Ingredients You Need
Here’s a look at what you need to make this easy apple recipe so you know what to have on hand.
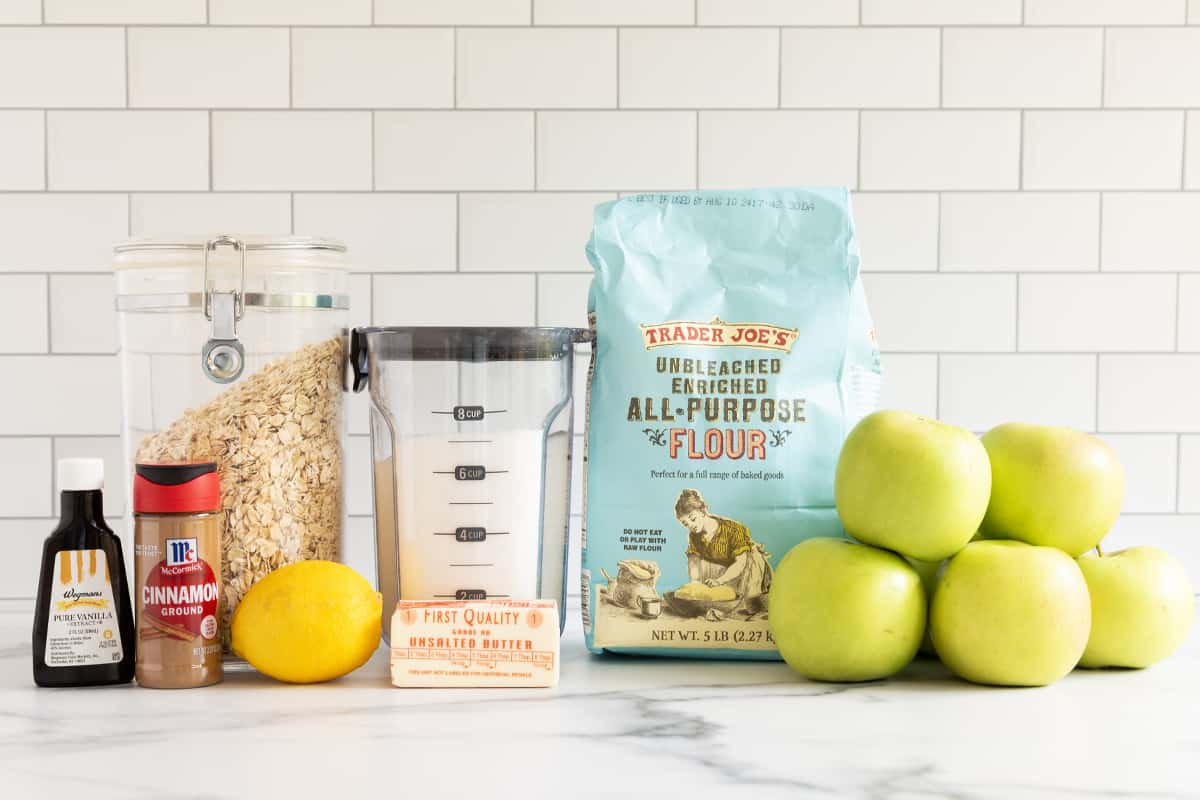
- Apples: You can use any cooking apple, such as Granny Smith, Cortland, Fuji, or Honeycrisp. Or you can use any other apple, knowing that other types of apples may be softer once cooked.
- Cinnamon: Ground cinnamon adds nice flavor to the crisp recipe and pairs well with the apples.
- Lemon juice: I like to add a little fresh lemon juice to the apple mixture to help ensure that the flavors are bright.
- Rolled oats: Oatmeal is a classic fruit-crisp ingredient, and we use old-fashioned rolled oats here.
- Flour: You can use all-purpose flour, whole wheat flour, or a gluten-free flour blend.
- Sugar: A little sugar in this recipe ensures the overall flavor is sweet and delicious.
- Vanilla extract: Vanilla adds a little extra flavor to the crisp topping.
- Butter: I use unsalted butter in my cooking, but if you only have salted, omit the salt in the recipe.
Step-by-Step Instructions
Here’s a look at the process involved in making this recipe so you know what to expect. Scroll down to the end of the post for the full recipe, including the amounts and timing.

Step 1. Place the ingredients for the topping into a medium bowl and stir together.

Step 2. Dice up the apples evenly. Spread into the prepared baking dish. Toss with a little sugar.

Step 3. Spread the topping over the apples in the pan, pressing down a little.

Step 4. Bake until the topping is golden brown and the apples are soft when poked with a fork.
Frequently Asked Questions
In a crumble, the topping usually doesn’t include oats or nuts. A crisp does include them.
You can use any firm apple such as a Granny Smith or Pink Lady. I used Jonagolds from our farmer’s market because they have a nice sweet-tart flavor.
You can make it up to 3 days ahead and store it in the fridge, or up to 3 months ahead and store it, lid on or otherwise tightly covered, in the freezer. Thaw overnight in the fridge and warm through in a 300-degree-F oven, covered with foil.
Serving Suggestions
You can serve it plain, topped with ice cream or whipped cream, or even topped with coconut whipped cream or thick Greek yogurt. It’s really up to your preferences!
The Best Apples for Apple Crisp
You can use any firm apple such as a Granny Smith or Pink Lady. I used Jonagolds from our farmer’s market because they have a nice sweet-tart flavor.
How to Store
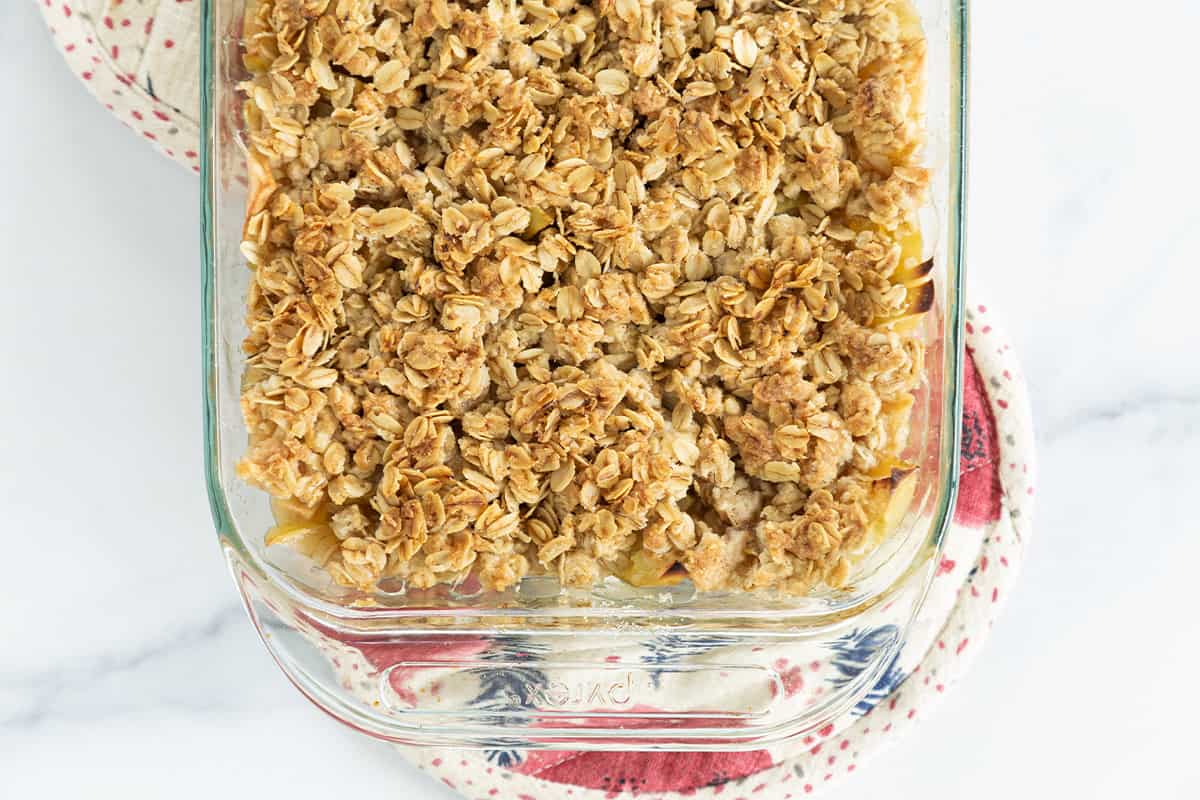
I like to make this apple crisp in a glass baking dish that can be easily stored in the fridge or freezer, because yes, you can make it ahead. You can make it up to 3 days ahead and store it in the fridge, or up to 3 months ahead and store it, lid on or otherwise tightly covered, in the freezer. Thaw overnight in the fridge and warm through in a 300-degree-F oven, covered with foil.
Best Tips for Success
- I like to use Cortland, Granny Smith, or any other cooking apple in this recipe since they hold up nicely during cooking and have good flavor.
- Serve with whipped cream or vanilla ice cream as desired.
- Serve leftovers for breakfast with plain Greek yogurt.
- If you have more apples, try my Apple Smoothie.
Related Recipes
Desserts
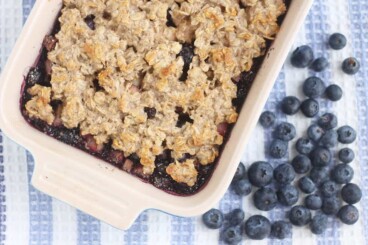
Easy Blueberry Crisp
Desserts
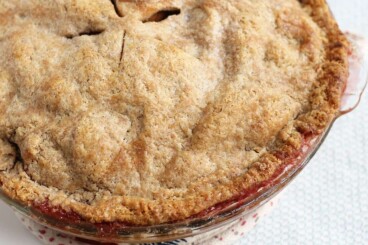
Favorite Cranberry Apple Pie
Breakfast
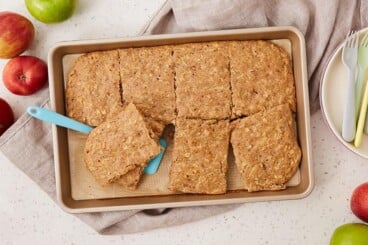
Apple Sheet Pan Pancakes
Desserts
Favorite Apple Cookies
I’d love to hear your feedback on this post, so please comment below to share!
Easy Apple Crisp
Ingredients
- 6 cups freshly sliced apples (cores discarded; about 4–6 small to medium apples)
- 1 tablespoon fresh lemon juice
- ⅓ cup sugar divided
- 1¼ cup rolled oats
- ½ cup all-purpose flour
- ½ teaspoon vanilla extract
- 1 teaspoon cinnamon
- 6 tablespoons unsalted butter (melted)
Instructions
- Preheat the oven to 375 degrees F and coat a 9×11-inch pan with nonstick spray.
- Dice the apples. Add to the prepared pan and toss with the lemon juice and 2 tablespoons of the sugar.
- Place the oats, flour, remaining sugar, vanilla, cinnamon, and butter into a medium bowl. Stir together.
- Spread the topping over the apples in the pan. Press down slightly.
- Bake for 30-35 minutes or until the apples are soft. (If the topping starts to get too dark brown at any point, cover it loosely with a piece of foil and continue baking.) Let cool slightly and serve warm or at room temperature.
Equipment
Notes
- You can make this up to 3 days ahead and store it in the fridge, or up to 3 months ahead and store it, lid on or otherwise tightly covered, in the freezer. Thaw overnight in the fridge and warm through in a 300-degree-F oven, covered with foil.
- I like to use Cortland, Granny Smith, or any other cooking apple in this recipe.
- Serve with whipped cream or vanilla ice cream as desired.
- Serve leftovers for breakfast with plain Greek yogurt.
Nutrition
This post was first published September 2020.






Can the metric measurements be fixed for this recipe please?
I just reran it for you. If there is an issue you need help addressing, let me know.
Really yummy and easy to put together!
So yummy! My toddler asked to make apple pie but we didn’t have the time or ingredients. We whipped this up in about 10 minutes and it was surprisingly delicious. We ate half the pan in one sitting. Wish we’d had some vanilla ice cream to eat with it. The perfect easy fall treat.
We made this with apples we picked from our backyard and we all loved it. Not too sweet, which is how we like it. I made the crisp topping in the food processor and felt it needed one more tablespoon of butter and added salt since I have a toddler. Glad I added both.
Excellent crisp! Our favorite dessert!