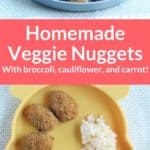
Combine three veggies into deliciously crispy Veggie Nuggets that you can serve straight out of the oven—or warm up after freezing them. They’re versatile, loaded with veggies, and perfect for dipping!
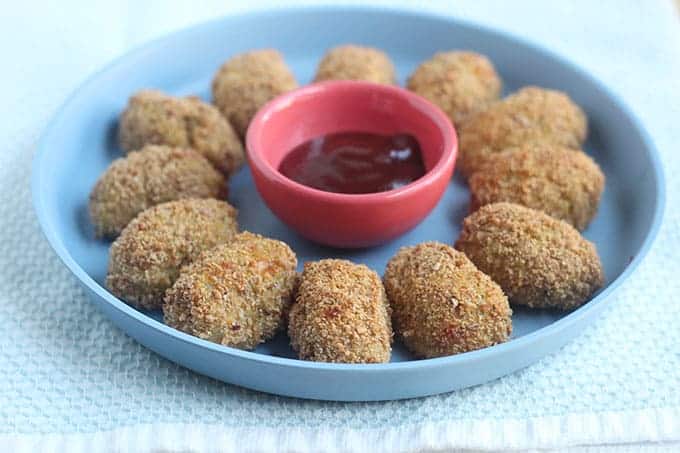
Veggie Nuggets
I am a forever fan of using veggies in all of the ways–from super simple raw ones, to easy cooked vegetable recipes, to incorporating them into more complex recipes like this one—as a way to regularly expose the kids to lots of options.
Because we really never know which ones will be their favorites until we give them a chance to try.
These veggie nuggets have a similar texture to chicken nuggets, have boast a nice dose of vegetables, and include whole grains. Plus, they are an easy food for toddlers to eat, especially when dunked into ketchup, Ranch, or another favorite dipping sauce.
The leftovers bake up nice and crispy straight from the fridge or freezer, so they’re a nice homemade alternative to store bought nuggets when you’re in the mood to cook.
They’re a great kids meal…that you may like to enjoy yourself too!
(You might also like my Vegetable Pancakes.)
Table of Contents
Your toddler won’t eat? Help is here!
Sign up for our email updates to get tips and ideas sent to your inbox.
Ingredients You Need
To make this recipe, you’ll need to have the following ingredients on hand.
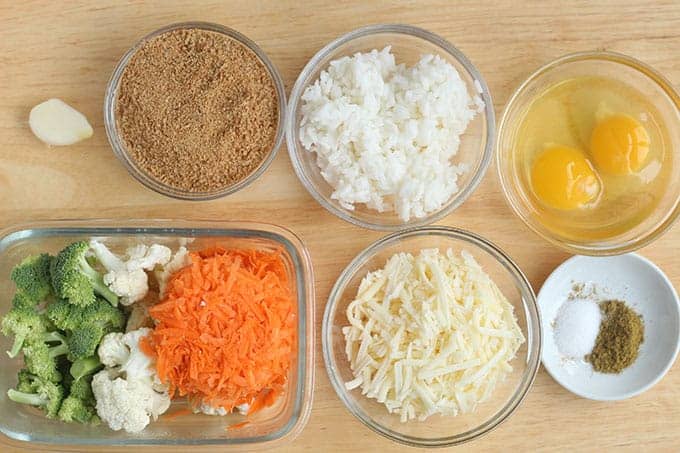
- Broccoli: Either cut florets from a head or precut florets will work here.
- Cauliflower: Either cut up florets from a head or precut florets will work here.
- Carrots: I like to use shredded carrots here so they blend into the mixture nicely.
- Garlic: You can skip this, but it adds nice flavor. You could also use garlic powder or onion powder if you prefer.
- Fully cooked rice: I usually use jasmine rice, but a short grain brown rice works too. You can cook the rice up to two days ahead of time to get a head start on this recipe.
- Whole wheat breadcrumbs: This helps the mixture hold together nicely when forming into nuggets.
- Shredded cheese: Cheddar is my top pick for type of cheese.
- Egg: Egg helps the mixture bind together and bake through evenly.
- Cumin: I like to add cumin for additional flavor.
- Salt: You can omit the salt if desired, but it helps round out the rest of the flavors.
Ingredient Substitutions
- Use any other type of shredded cheese you prefer.
- Use short grain brown rice or jasmine rice.
- Omit the garlic or add ½ teaspoon garlic powder.
- Use gluten-free breadcrumbs if needed to make these gluten-free.
- Use dairy-free shredded cheese if needed.
Step-by-Step Instructions
Here’s a look at how to make veggie nuggets so you know what to expect. Scroll down to see the full information.
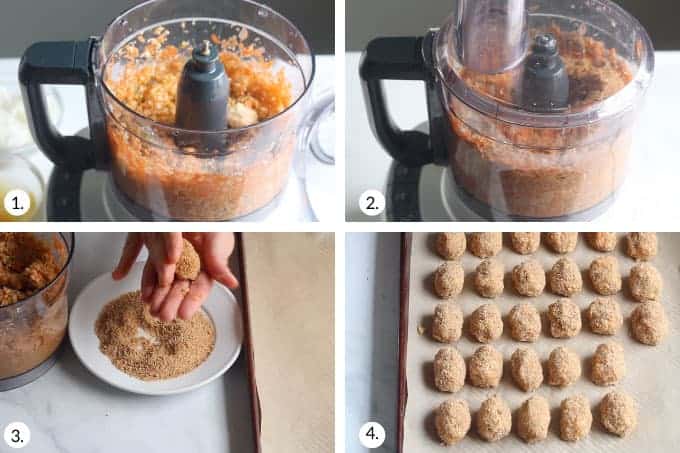
- Preheat the oven and line a baking sheet with parchment paper.
- Add the veggies and garlic to the food processor. Grind well so they break down into small pieces.
- Add the remaining ingredients and grind to make a uniform batter. You may need to stop and scrape down the sides at least once.
- Form into ovals, roll in breadcrumbs, and and place onto the prepared baking sheet.
- Bake and serve warm.
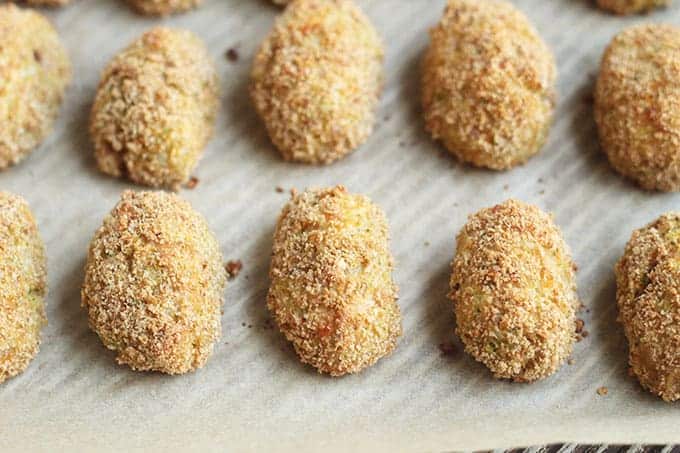
TIP: I like to make these as tot shapes, or a sort of long oval, as I like the way they cook in that shape.
Frequently Asked Questions
The outside of the nuggets are crispy and the inside is soft and tender. They are not firm like a chicken nugget, but are very soft inside and easy to bite and chew.
They have mellow flavor from the garlic and cumin and have a pleasant savory flavor. They do not taste overtly like any of the veggies, but are super yummy when dipped into a favorite dipping sauce!
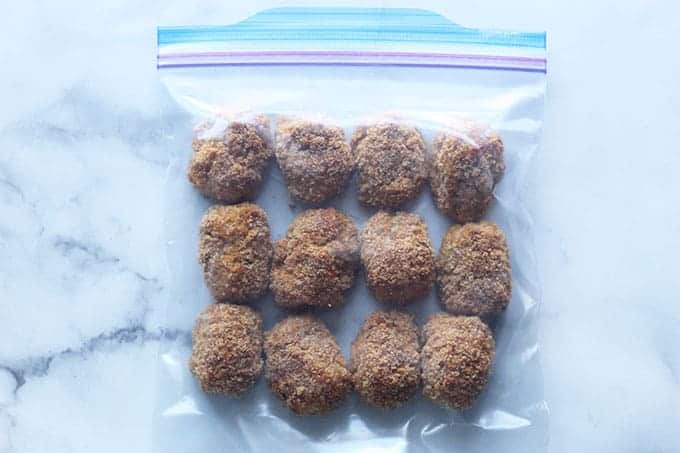
Yes! You can store them in the fridge for 3-5 days or in the freezer in a zip top freezer bag for up to 3 months and warm them in the oven to serve. They crisp up nicely from storage either way—which is handy if you want to serve them over the course of a few weeks!
What to Serve with Veggie Nuggets
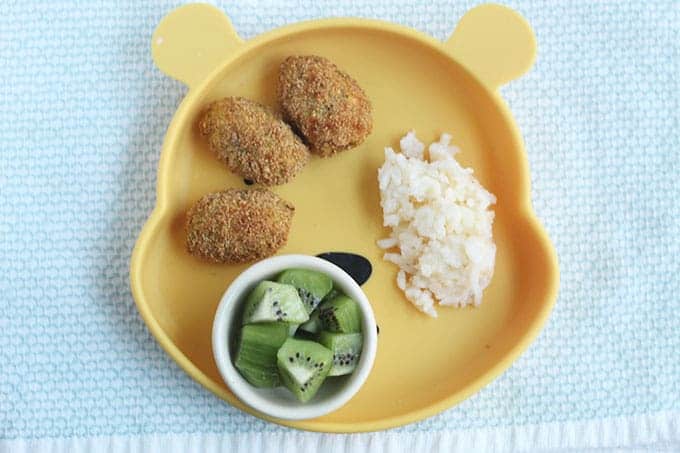
We like dipping them into ketchup or Ranch and having them with simple sides like Cheesy Rice, regular rice, or simply cut up fruit. You could also serve alongside a smoothie or soup, depending on your mood.
The beauty of these is that there are already veggies in the mix, so you don’t really need to make another veggie side (unless you really want to).
Vegan Veggie Nuggets
To make these entirely plant-based, you can sub in a nondairy shredded cheese and use a store bought egg replacer like the one from Bob’s Red Mill.
How to Store
You can store them in the fridge for 3-5 days or in the freezer in a zip top freezer bag for up to 3 months and warm them in the oven to serve. They crisp up nicely from storage in the oven—they will be soft if you warm them in the microwave.
Best Tips for Success
- I like to cook the rice and prep the veggies ahead of time—you can do both up to 2 days ahead of when you plan to make the nuggets—which makes the process of these a little easier.
- I like to make these as tot shapes, or a sort of long oval, as I like the way they cook in that shape.
- You can store them in the fridge for 3-5 days or in the freezer in a zip top freezer bag for up to 3 months and warm them in
- We like dipping them into ketchup or Ranch.
- If you’re looking for an egg-free option, check out the similar variation in my Broccoli Tots!
- Gluten-free: Try with these Italian breadcrumbs from Ian’s.
- Dairy-free: Use a nondairy shredded cheese.
Related Recipes
I’d love to hear your feedback on this recipe if you make it for your kids. Please comment and rate below to share your thoughts!

Homemade Veggie Nuggets (with 3 Veggies!)
Ingredients
- 1 cup shredded carrot
- 1 cup broccoli florets
- 1 cup cauliflower florets
- 1 garlic clove, peeled
- 2 eggs
- 1/2 cup plain whole wheat breadcrumbs
- 1 cup fully cooked rice (I prefer jasmine or short grain brown rice)
- 3/4 cup shredded cheddar cheese
- 1/2 teaspoon cumin
- 1/2 teaspoon salt
- 1/3 cup additional whole-wheat breadcrumbs for rolling
Instructions
- Preheat the oven to 400 degrees F. Line a baking sheet with parchment paper.
- Place the carrots, broccoli, cauliflower, and garlic into a food processor. Grind to chop the veggies finely.
- Add the remaining ingredients except the ⅓ cup breadcrumbs. Grind into a uniform batter, stopping to scrape down the sides of the bowl once or twice.
- Use a 1-tablespoon measuring spoon to portion out batter, form into an oval “tot” shape, and roll in the ⅓ cup additional breadcrumbs. Place onto the prepared baking sheet and repeat to make all of the nuggets.
- Bake for 30-32 minutes or until lightly golden brown and firm to the touch. Serve warm with a favorite dip such as ketchup or Ranch as desired.
Video
Notes
- I like to cook the rice and prep the veggies ahead of time—you can do both up to 2 days ahead of when you plan to make the nuggets—which makes the process of these a little easier.
- I like to make these as tot shapes, or a sort of long oval, as I like the way they cook in that shape.
- You can store them in the fridge for 3-5 days or in the freezer in a zip top freezer bag for up to 3 months
- Warm from the fridge for 6 minutes in a 375 degree oven. Warm from the freezer for 8-10 minutes in a 375 degree oven. You can also warm them for 30-60 seconds in the microwave, though they will not be crisp on the outside.
- If you need to make this recipe gluten-free, try these breadcrumbs from Ian’s.
- If you’re looking for an egg-free option, I don’t have one for this recipe, but check out the variation in my Broccoli Tots!
Nutrition
This recipe was originally published February 2018.





Can i use cooked quinoa instead of rice? I just have so much quinoa on hand and my LO is allergic to oats
I haven’t tried this so I can’t say for sure, but I think that they might have a harder time sticking together. If you try it, let me know how it goes!
This definitely took some time to make but if you have a large food processor it would be much faster. I have a small one and had to do a few batches for the veggies but then I put all the veggies in a large stand mixer and combined everything else and I did add some extra garlic, salt and cumin as well as an extra quarter cup or so of cheese as well as rice. They were a wonderful consistency which I was worried about due to having to finished them in the mixer.
Our kids loved these and so did we! They’re great!The batter came out too wet so I added oat flour and that did it. Will definitely make these again.
is this recipe appropriate for 8 month old?
Sure, you can offer one BLW style or mash it up
We subbed egg for a flaxseed egg. And added part vegan cheese part nutritional yeast. Also added garlic and onion powder for extra flavour.
Can I use different veggies like zucchini?
I haven’t tried zucchini but if you wanted to try it, I would grate it first and squeeze it very dry.
my batter came out to wet, how do make it less wet and stick together?
Add more breadcrumbs would be the easiest option.
Love this recipe! Any thoughts on subbing farro for rice? Would you do 1:1 ratio?
I haven’t tried that and I’m not sure if farro is sticky when blended the same way as rice. If you try it, make sure the farro is very soft. Let me know how it goes!
Was just going to write with this same question — did you end up trying farro?
I made these tonight for my soon-to-be 2 year old who absolutely REFUSES vegetables and guess what- he actually took a bite and SWALLOWED it. These taste great. One star off though because my batter required a lot more bread crumbs than the recipe stated (batter was too wet to roll). I did add more seasoning and garlic, too. Otherwise, these are great!
The kids liked these, but I think they’d benefit from having the veggies sit in a strainer with paper towels to get rid of the moisture before blending as they tasted wet. I’d also up the garlic, salt and cumin as they needed more.
What’s a good alternative for cumin?
You could do a little Italian seasoning, oregano, garlic powder, or just leave it out.