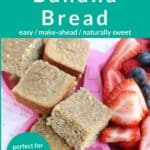
This Oatmeal Banana Bread is a total family favorite. Similar to baked banana oatmeal, it comes together in the food processor (or right in the pan)—and once cooled and wrapped, the bars store amazingly well in the fridge and freezer. It’s totally delicious for snack time or breakfast.
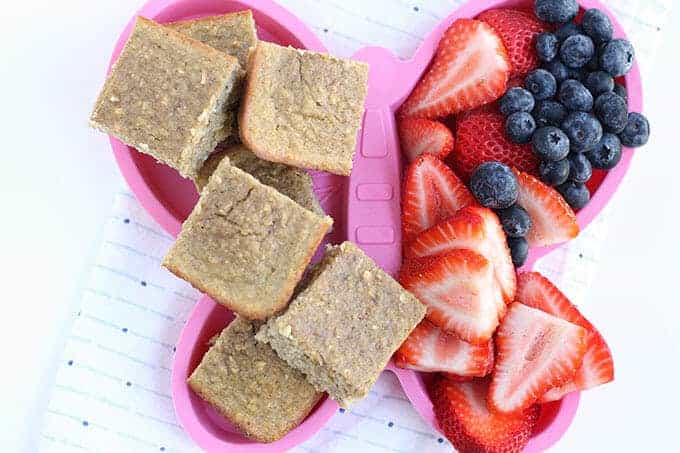
Oatmeal Banana Bread
This quick bread is soft, moist, and sweet— yet firm enough for little fingers to hold without it falling apart. But the thing I love most about this recipe? It’s so packed with nutrients and it tastes great. It’s a win-win. Plus, it’s just so easy to make, even if your kitchen is crazy with the kiddos running around!
We love this healthy banana bread for snacks or breakfast because it’s really good with coffee or milk.
I find that baking this banana bread in an 8×8-inch pan ensures that the whole thing cooks evenly and in about half the time as a standard loaf pan. That means you can spend less time waiting for the oven timer and more time enjoying your life. Plus, the recipe comes together in the food processor, so it’s easy to mix up, even with kids underfoot.
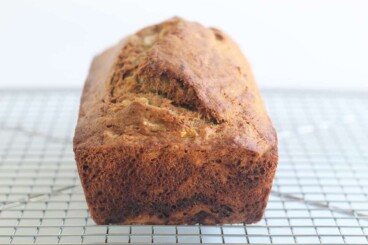
(You may also like my classic take on a Banana Bread loaf and this Baked Apple Oatmeal version.)
Table of Contents
Your toddler won’t eat? Help is here!
Sign up for our email updates to get tips and ideas sent to your inbox.
Ingredients You Need
To make this banana recipe you’ll need to have the following ingredients on hand.
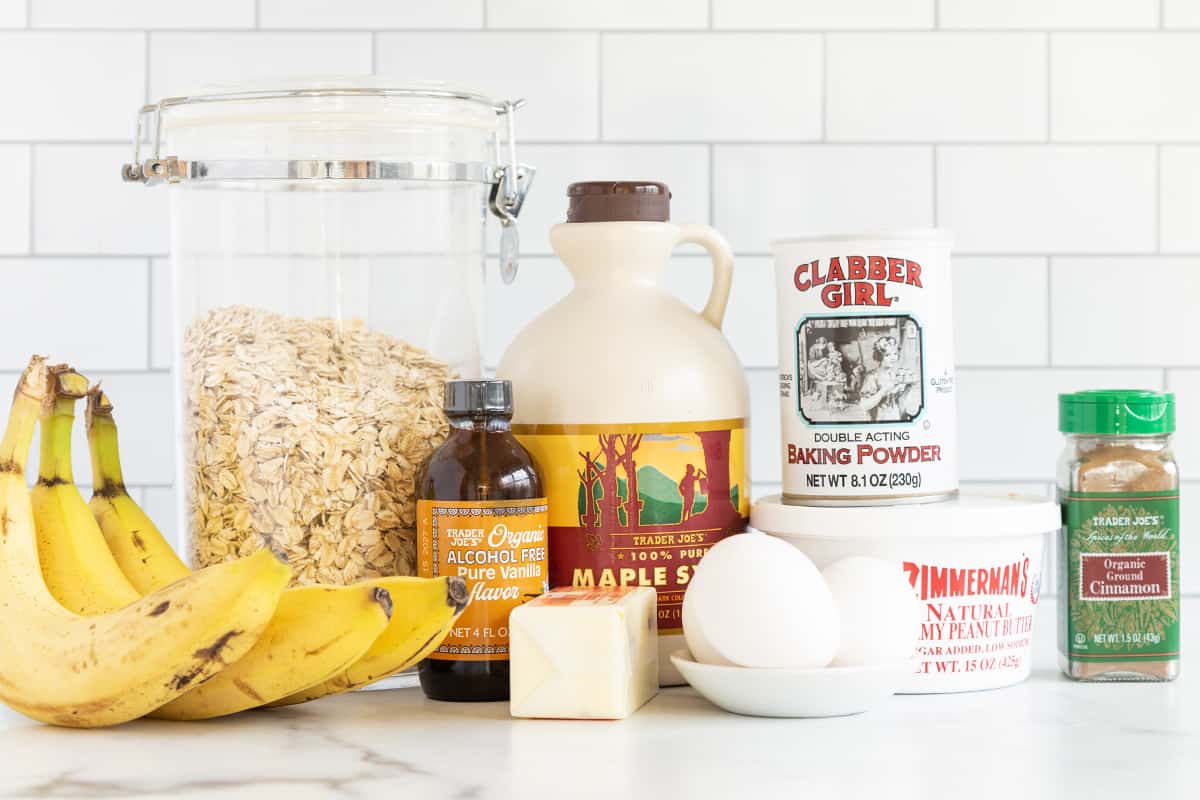
- Very ripe bananas: You’ll want them to have brown spots to ensure the most flavor and natural sweetness.
- Rolled oats: We use “old-fashioned” rolled oats here as the base of the bread. I love the texture this gives the final recipe, and it’s a yummy way to offer whole grains.
- Eggs: Eggs help bind the bread together and add tenderness to the texture.
- Butter (or nut butter): You can use melted unsalted butter or peanut butter or almond butter in this recipe to add moisture and beneficial fats.
- Cinnamon: The flavor of cinnamon pairs so nicely with banana, so we use it here.
- Baking powder and soda: The combination of these ensures that the bread bakes through and rises nicely.
- Pure vanilla extract: A little vanilla enhances the rest of the flavors in the bread.
- Maple syrup: I sweeten this banana bread with maple syrup, though you could swap in honey for kids over age 1 if you prefer.
TIP: If you’re looking for a banana bread or muffin without eggs, try my Sugar-Free Banana Muffins or these Vegan Banana Muffins.
Here’s a look at the simple process involved in making this banana bread recipe. Scroll down to see the full recipe at the bottom of the post.
Step-by-Step Instructions
Below is a preview of how to make this recipe so you know what to expect from the process. Scroll down to the end of the post for the specifics on the amounts and timing.
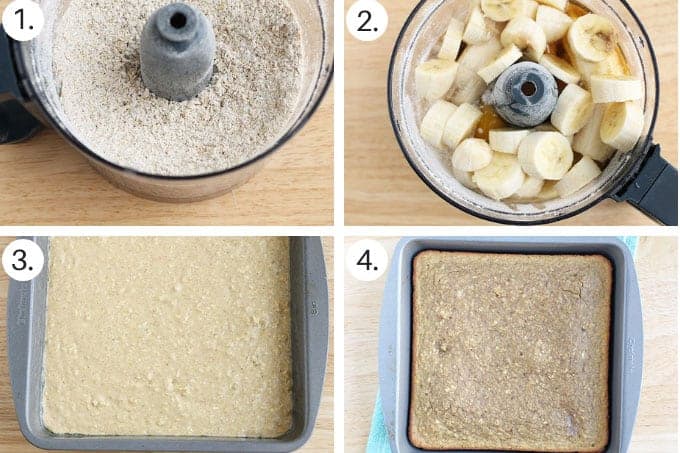
- Place the oats in the bowl of a food processor and grind.
- Add the rest of the ingredients and blend well.
- Pour into the prepared pan. (To do this without a food processor, use instant oats, mash the bananas right in the pan, and then stir in the rest of the ingredients.)
- Bake! Let cool fully in the pan before slicing and serving to make sure it holds together well.
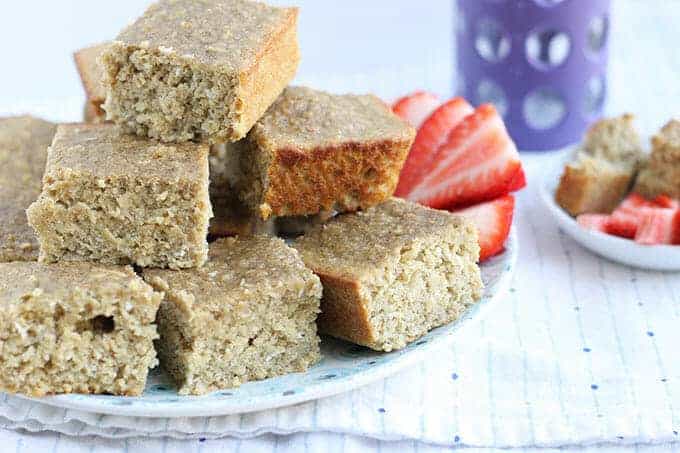
Flourless Banana Bread
The base for this banana bread recipe is ground-up rolled oats, but you can pick up a bag of oat flour if you want to skip that step. It’s easy to make gluten-free (just buy certified gluten-free rolled oats), and it has similar nutrition as oatmeal.
The bread is similar to baked oatmeal and is packed with fiber and complex carbohydrates to fuel the kids with balanced energy until the next meal or snack time rolls around. It also stays moist for days when stored in the fridge, so you can make this on the weekend and enjoy it throughout the week.
How to Store
You can keep this bread, once fully cooled, in an airtight container in the fridge for 3-5 days. You can also put half of the batch into a zip-top quart-size freezer bag and store it in the freezer for up to 3 months. Thaw the whole bag or one slice at a time overnight in the fridge or in 15- to 30-second bursts in the microwave.
Best Tips for Success
- Use very ripe bananas with a lot of brown spots for the best flavor and natural sweetness.
- We like the bread plain or topped with nut butter or with a simple frosting made with combination of maple syrup and cream cheese.
- You can make this dairy-free by using nut butter, such as peanut butter or almond butter, instead of the butter.
- You can make this gluten-free by using certified gluten-free rolled oats.
- You can use honey instead of maple syrup (but avoid honey for babies under 12 months.)
Related Recipes
Breakfast
Lower Sugar Banana Bread
Breakfast
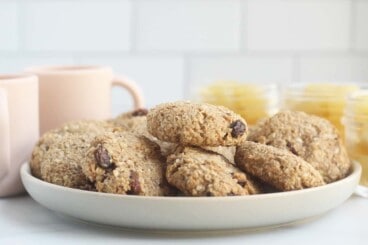
Banana Oatmeal Breakfast Cookies
Muffins
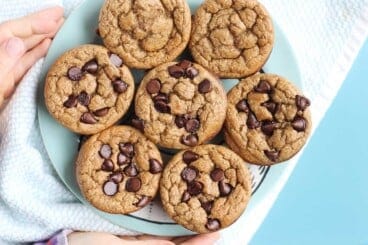
Easy Banana Oatmeal Muffins
I’d love to hear your feedback if you try this recipe, so please comment below and give it some stars!
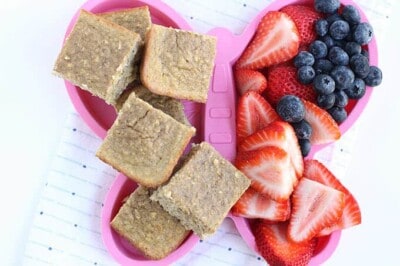
Oatmeal Banana Bread
Ingredients
- 2½ cups rolled oats
- 3 cups sliced very ripe bananas (about 3 medium bananas)
- 1 teaspoon baking powder
- 1 teaspoon cinnamon
- ¼ teaspoon salt
- 3 eggs
- ¼ cup almond or peanut butter (OR melted and cooled butter)
- 2 tablespoons maple syrup
- 1 teaspoon vanilla extract
Instructions
- Preheat the oven to 350 degrees F. Coat an 8×8-inch baking dish with nonstick spray.
- Grind the oats in a food processor for about 30 seconds, or until they resemble a coarse flour.
- Add the rest of the ingredients and process for about 1 minute, stopping to scrape down the sides of the processor as needed, until the batter is smooth.
- (To do this without a food processor, use instant oats, mash the bananas right in the pan, and then stir in the rest of the ingredients.)
- Pour into prepared pan, smoothing with a spatula. Bake for 25-28 minutes, or until the edges are golden and a cake tester inserted into the center comes out clean. Let cool in the pan before slicing.
- Serve chilled, at room temperature, or slightly warm.
Notes
- To store: Place in an airtight container or storage bag in the fridge for up to a week or in the freezer for up to 3 months.
- If you like coconut, you can sub ½ cup shredded unsweetened coconut for ½ cup of oats.
- Increase the maple syrup to ¼ cup to make this sweeter.
- Be sure to use very ripe bananas with brown spots for the best flavor.
- You can add ½ cup of chocolate chips or blueberries to the top of the batter once it’s in the pan if you’d like.
Nutrition
This recipe was first published June 2018.






Looks great! Could the maple syrup/honey be left out or substituted for something else (e.g. more mashed banana or applesauce)?
I’d replace it with milk so the ratios stay the same. Enjoy!
Hello! Can a 10 month old eat this? (I omitted the salt). Thanks!
Yes just dice it up into small pieces.
So excited to try this. Can I use a blender instead of a food processor?
Sure
Very good! I love that there’s almond butter in this and yet I can’t taste it. Perfectly sweet with 2 Tbsp maple syrup. Can’t wait to feed to my toddler. My husband and I have already had 1/4 of the pan on our own.
Hi, is the measurement for the oats before or after its ground? Would the measurement be different if I use oat flour?
It’s for before grinding, but it’s very similar if using oat flour so I’d do the same amounts
Hi, can i use a loaf pan for this recipe? Thanks ☺️🌺
SO GOOD! I don’t have a food processor so I tried to mix it in my blender but it didn’t all fit. Ended up working out fine though, just had to mash the rest of the bananas and mix it all in a bowl. Next time I’ll just grind the oats in the blender, mash the bananas and mix it all in a bowl. I used two loaf pans and put chocolate chips in one for me, none in the other for my 16 month old 🙂 will definitely be making this again. Thank you!!
Omg so easy and delicious! Best for road trips with my 16 month old and mom and dad love them too! We added blueberries and omg yummmm!
I’m so glad to hear that!
Super easy to make and delicious!
Can you use steel cut oats to make the flour?
I haven’t tried that but if you can grind them up very finely I think it would likely work the same
So easy for beginners like me and super yummy! Thank you!
Super easy to make. I make it on friday afternoon and lasts me 4 to 5 days. I usually give my son a bread toasted with almond butter for breakfast on Saturday!
Can I use walnuts in this?
Sure! I’d chop them up first
Hi! If I’m needing to make this for grown up toddlers on occasion would this come out nicely in a loaf pan?
I haven’t made it in a loaf pan so I can’t say for sure but it works well in an 8×8 inch pan for any age:)
I’m a bit low on oats, could I use wheat flour with the oats?
I haven’t tried it that way but you certainly could give it a shot. It may be done a few minutes sooner so test the center with a toothpick or cake tester—you’d want it to come out mostly clean.
I wonder if I could double this and bake it in a 9×13 pan? How would that affect the baking time? My whole family loves these and I’d like to be able to make more at once!
I think that would work and the timing would be in the same general range—maybe 4-6 minutes longer? Look at the center and you should be able to see if it’s done as it will look soft and gummy and then start to firm up. Check it with a cake tester or tooth pick to be sure it’s done (you want either to come out cleanly). I’d love to know how it works if you try it that way!
Can I use infant oatmeal cereal in place of the oats? V
I haven’t tried it that way so I can’t say for sure, but let me know if you do!