With just a few simple ingredients and freshness from orange and lemon rind, these Mini Ricotta Cheesecakes are a naturally sweet treat to share. They’re easy to make (you simply stir the batter together, no fancy equipment needed) and are so fun to make mini.
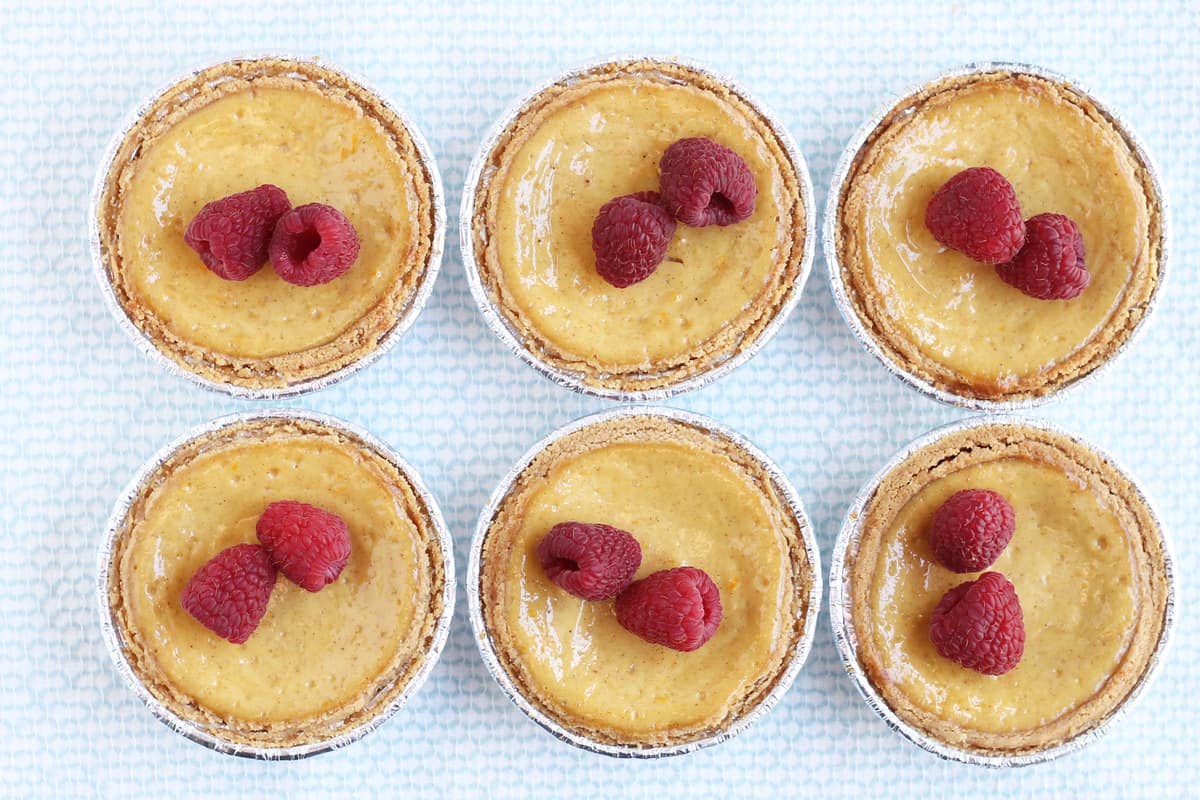
For as long as I can remember, Ricotta Cheesecake has been part of my life each spring. In my family, we actually call them “ricotta pie” and the recipe is a staple on our Easter recipes. This sort of ricotta cheesecake is a classic Italian treat, though they vary slightly. And fortunately, the one that my family makes is so simple—and has such fresh flavors from the addition of citrus.
These mini cheesecakes have freshly grated lemon and orange rind in them, which adds a lot of flavor. This lemon flavor is such a nice note in the mix of the cheese and honey. It’s paired here with a simple mini graham cracker crust so each one is small, sweet, and fun for kids and adults alike.
We sometimes have this cheesecake with regular pie crust, but for simplicity’s sake, I like to use pre-made store-bought ones instead.
(You may also like Ricotta Meatballs, 3-Ingredient Banana Pudding, Vegan Chocolate Mousse, No-Bake Cheesecake Cups, and Banana Ice Cream.)
Table of Contents
Your toddler won’t eat? Help is here!
Sign up for our email updates to get tips and ideas sent to your inbox.
Ingredients You Need
To make these cheesecakes, you’ll need to have the following ingredients on hand.
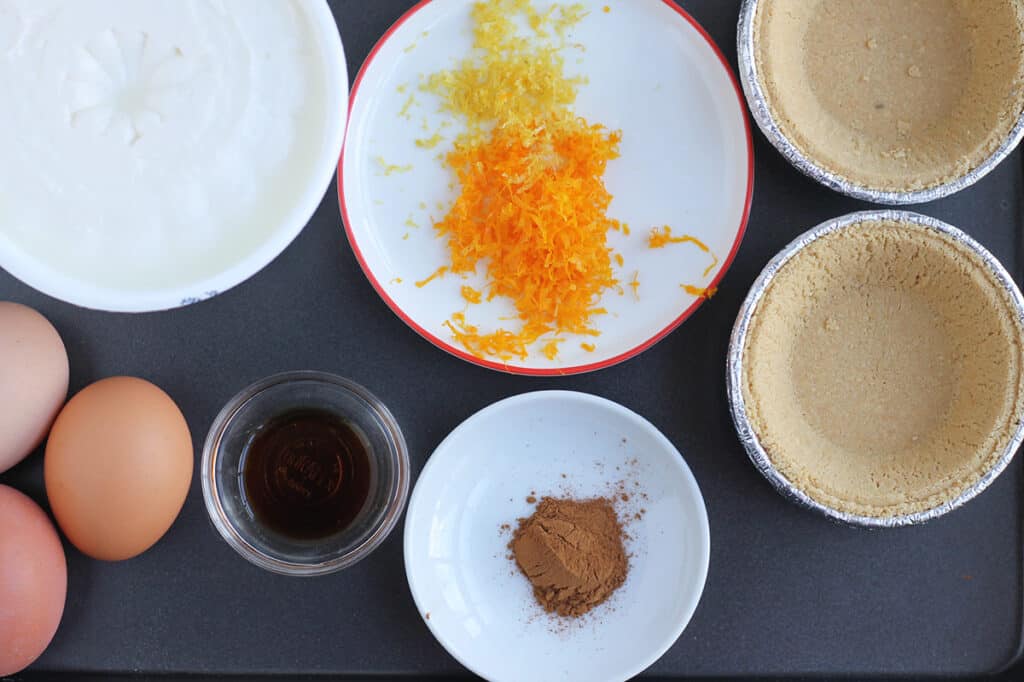
- Ricotta cheese: I strongly recommend using whole-milk ricotta for the better flavor and texture if you can find it.
- Eggs: Large eggs help the mixture hold together and have a classic cheesecake consistency.
- Vanilla extract: Use real or pure vanilla extract, rather than imitation, for the best flavor.
- Honey: I use honey to add just enough sweetness.
- Fresh lemon and orange rind: Use a microplane to zest the fruit, avoiding the white part, which can be bitter.
- Cinnamon: A little cinnamon adds lovely flavor to the ricotta mixture.
- Mini graham cracker crusts: I use the premade ones from Keebler, which are fairly widely available at regular grocery stores.
Step-by-Step Instructions
Here’s a look at the simple process involved in making these ricotta cheesecakes. Scroll down for the full recipe.
- Gather your ingredients.
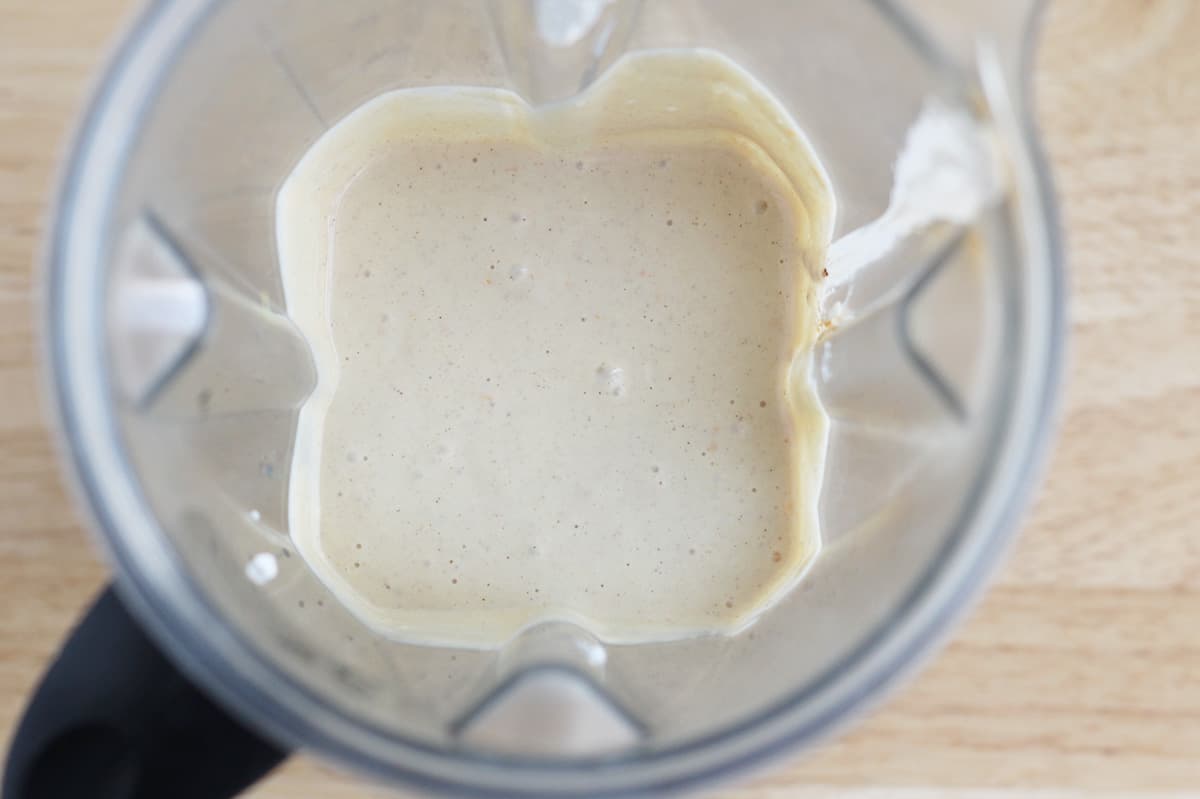
- Preheat the oven. Add all ingredients except the crusts to a blender. Blend!
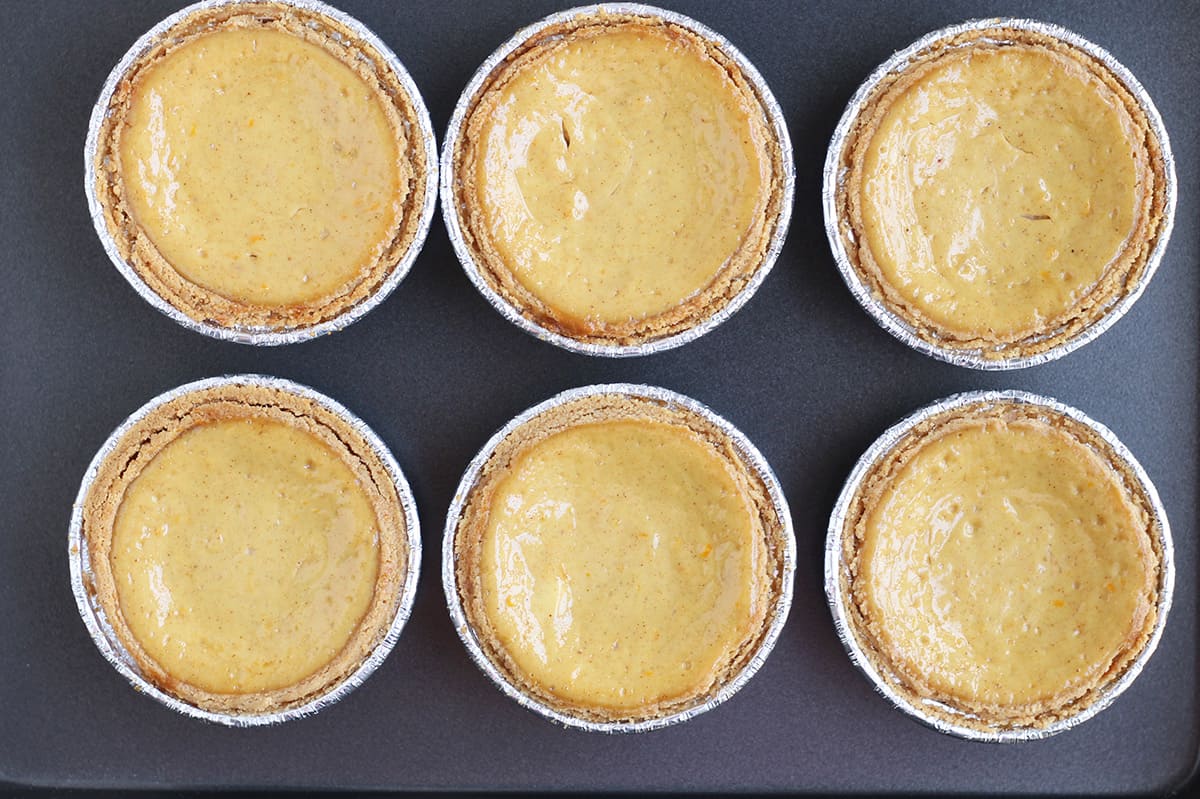
- Divide the filling among the crusts and bake.
- Remove from oven and let cool fully.
- Serve or refrigerate for until ready to serve.
TIP: We like this dessert cold and often serve it as an Easter recipe!
If you want to serve them as a make-ahead breakfast like my family does, a simple side of fruit or hard-cooked eggs is all you need. If you’d rather have them for dessert, you can top with some whipped cream, lemon curd, or fresh fruit. They’re pretty versatile!
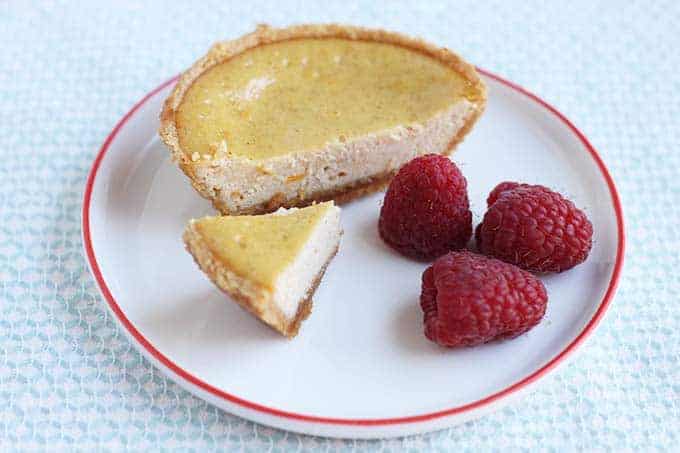
Cheesecake tends to puff slightly as it bakes, and then fall when it cools. This is normal and to be expected.
This version is made with ricotta cheese, fresh citrus zest, eggs, and sweetener.
How to Store
You can make these up to two days ahead. Simply let cool, then cover with plastic wrap or store in an airtight container in the fridge. We actually prefer these served cold, so this works well!
Best Tips for Success
- When grating the fresh citrus peel, try to avoid getting too much of the white part because it can be bitter. Just do a few strokes with the microplane as you move your way around the orange and lemon.
- Plan to make them at least 2 hours before you want to serve them so they have time to fully cool. You can serve at room temperature or chilled.
- Look for the mini graham cracker crusts near the Jell-O and puddings in your grocery store.
- You can do this batter in a 9-inch graham cracker crust. The baking time will be closer to 1 hour.
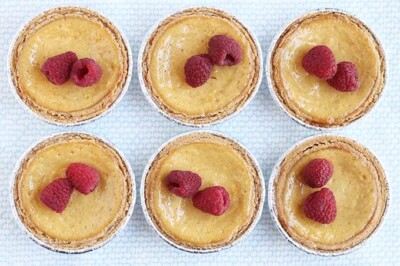
- The raspberries are purely decoration and for a little additional flavor. You can skip them and use whipped cream on top if you prefer, or try blueberries, diced strawberries, or another favorite fruit.
- You may also like my favorite full-size Ricotta Pie, Easter Recipes and my Whole Wheat Pie Crust.
Related Recipes
Desserts
Favorite Carrot Cake Bars
Breakfast
Healthy Carrot Cake Muffins
Breakfast
Easy Egg Bake (with Broccoli)
Desserts
Easy Vanilla Cake (Vegan)
I’d love to know what you think if you make this recipe so please chime in below in the comments!
Mini Ricotta Cheesecakes
Ingredients
- 16 ounces ricotta cheese (I prefer whole milk ricotta)
- 3 eggs
- 1 egg white
- 1/3 cup honey
- 1 teaspoon vanilla extract
- 1 tablespoon freshly grated orange rind (from about ½ of a medium orange)
- 1 teaspoon freshly grated lemon rind (from about ½ of a medium lemon)
- 1/2 teaspoon cinnamon
- 10 mini graham cracker crusts (I used Keebler)
- Raspberries (optional)
Instructions
- Preheat the oven to 325 degrees F.
- Add all ingredients except the crusts to a blender. Blend to combine.
- Brush the rim of each crust with egg white. (This helps to prevent the edges of the crusts from cracking as they bake.)
- Divide the filling among the crusts, filling each one just about full. Bake for 34-36 minutes, or until the centers are firm to the touch and slightly glossy. Remove from the oven and let cool fully.
- Serve with optional berries on top or refrigerate for up to 2 days, covered with plastic wrap.
Notes
- When grating the fresh citrus peel, try to avoid getting too much of the white part because it can be bitter. Just do a few strokes with the microplane as you move your way around the orange and lemon.
- Plan to make them at least 2 hours before you want to serve them so they have time to fully cool.
- Look for the mini graham cracker crusts near the Jell-O and puddings in your grocery store.
- You can do this batter in a 9-inch graham cracker crust. The baking time will be closer to 1 hour.
- The raspberries are purely decoration and for a little additional flavor. You can skip them and use whipped cream on top if you prefer, or try blueberries, diced strawberries, or another favorite fruit.
Nutrition
This post was first published April 2019.



What size crusts? 4oz or .71oz
The 4 oz (not the bite size ones)
This is SOOOOOO flavorful! I made it as a whole pie because I couldn’t find mini crusts at my store. I made it for my son to have with fruit as a breakfast to try something new but… I think I like it more than him!
Do you think these would freeze well? Either before or after baking?
I’m not sure that they would—I know regular cheesecake usually does but I worry a little that the texture of the crust might get soggy
Thanks for the response! I am going to make them for breakfast this weekend so I might brave it and freeze one. I’ll report back!
Please do!
I’m back! They freeze perfectly!!!
I made a batch and then chilled a day or two in the fridge. I used plastic wrap and smoothed it down over the surface then wrapped in the plastic and then wrapped in foil. Put them all in a bag and then when I want one (toddler didn’t like them but I sure do!) I take it out the night before and put it in the fridge. It’s PERFECT the next morning! No change in taste or texture! This is a winner— thank you!!!
Awesome, thank you for reporting back!!
Hi. Recipe calls for 3 eggs plus one egg white. Does the egg white go into the blender or is it the egg white mentioned in step 3? Do I need one or two egg whites total? Thanks!
The egg white is just for the crust. Apologies that is not clear!