These one-ingredient Pear Pops are a freezer staple since they naturally soothe sore throats and can help with constipation. Plus: They just taste yummy.
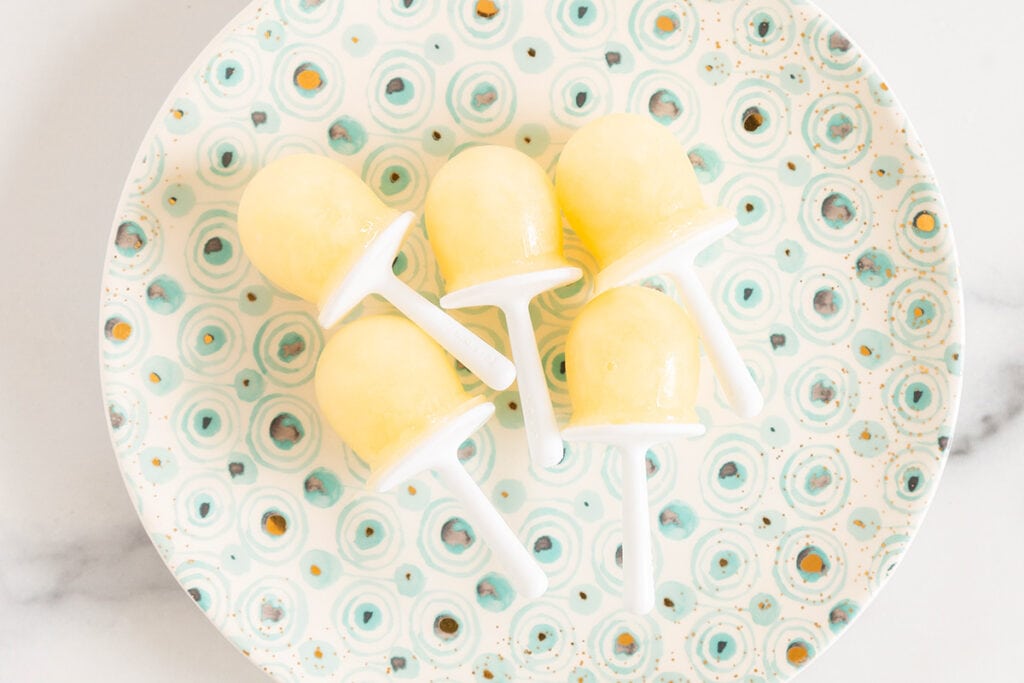
Pear Popsicles
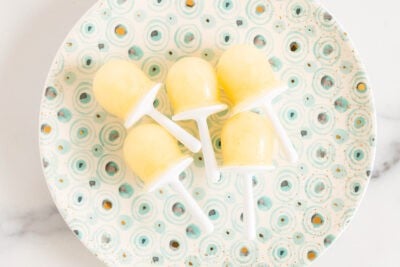
Last year I discovered that canned pears make the most delicious single-ingredient popsicles that are SO helpful for soothing sore throats. They also have fiber and hydration, which makes them helpful for toddler constipation, too. That means this is a great recipe to keep in mind as a natural remedy for many ailments the kids may face. You can keep pears on hand as a pantry staple and make them whenever needed.
Using fresh pears works just as well; see the info in the Notes at the end of the recipe.
It’s one of the easiest recipes for constipated toddlers, too, which is nice for us parents!
(You may also like Banana Popsicles, Blueberry Popsicles, Strawberry Popsicles, Fruit Popsicles, Fruit Slushies, and my Sore Throat Popsicles.)
Table of Contents
Your toddler won’t eat? Help is here!
Sign up for our email updates to get tips and ideas sent to your inbox.
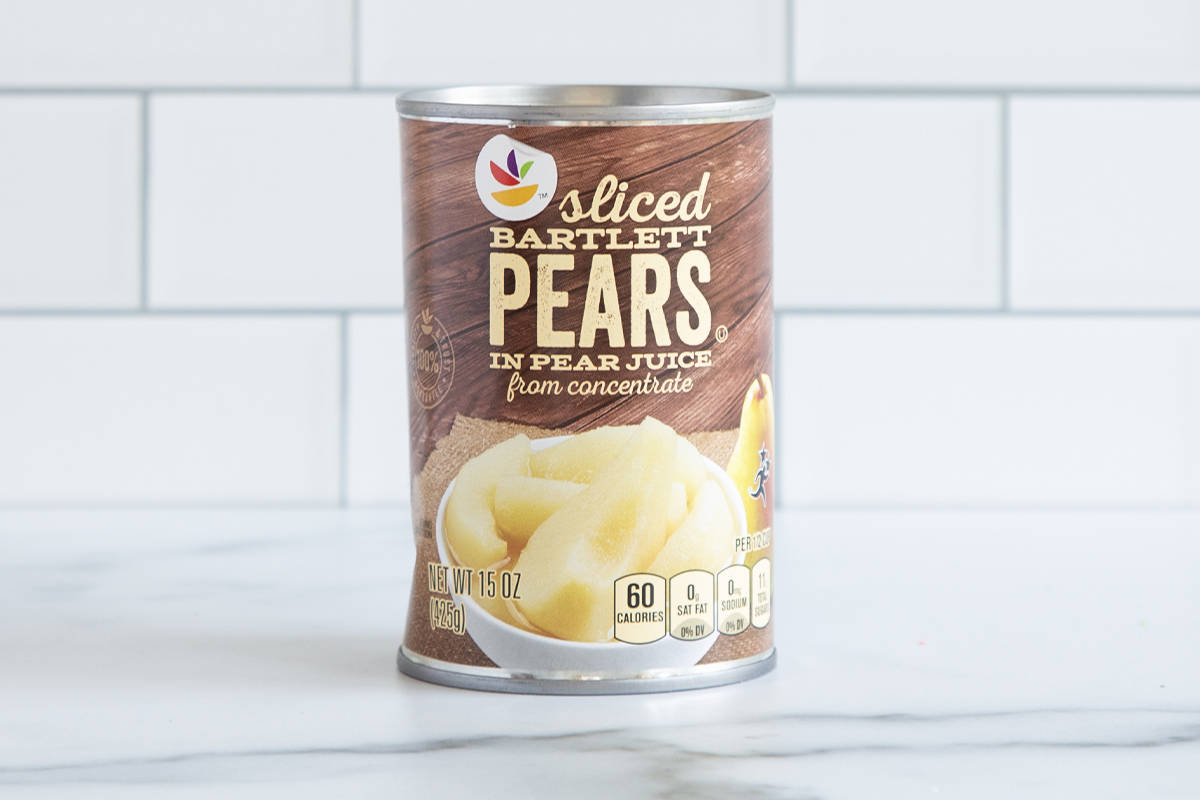
Ingredients You Need
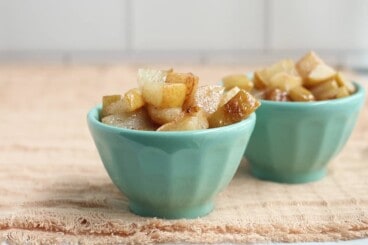
To make this easy popsicle recipe, you just need canned pears. I use pears canned in 100% juice, which don’t have any added sugars. Canned pears are soft yet full of fiber like the fruit is when it’s fresh, and they can stay in the pantry as long as you like.
You can look for a can free from BPA lining, too.
Pears for Constipation
Pears contain fiber and water, which can make them helpful as a natural remedy for todddler constipation. This is true of both fresh pears and canned pears. And canned pears have the added benefit of being packed in pear juice, a juice which can also aid in constipation relief.
And since the finished popsicles are cold and have a syrupy consistency that coats the throat nicely, they are a great food for sickness, too.
Step-by-Step Instructions
Below is a look at the basic steps involved in making this fruit popsicle recipe so you know what to expect from the process. Plan to start this 4-6 hours before you want to serve them so they have time to freeze.
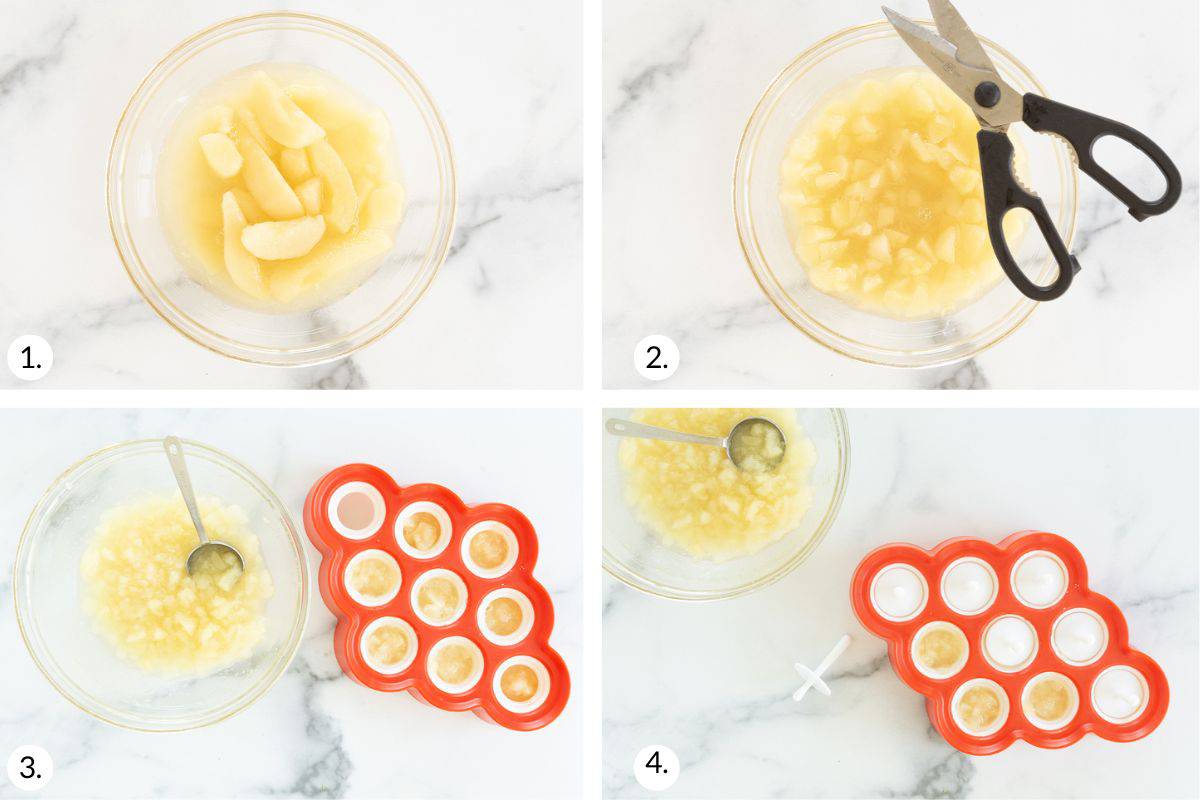
- Pour the pears and juice into a bowl.
- Roughly chop up with kitchen scissors or mash slightly with a potato masher.
- Portion into popsicle molds.
- Freeze for at least 4 hours or overnight. Release from the popsicle mold and serve.
How to Store
Transfer the frozen pear popsicles to a freezer bag, remove as much air as possible, and seal. Freeze for up to 6 months.
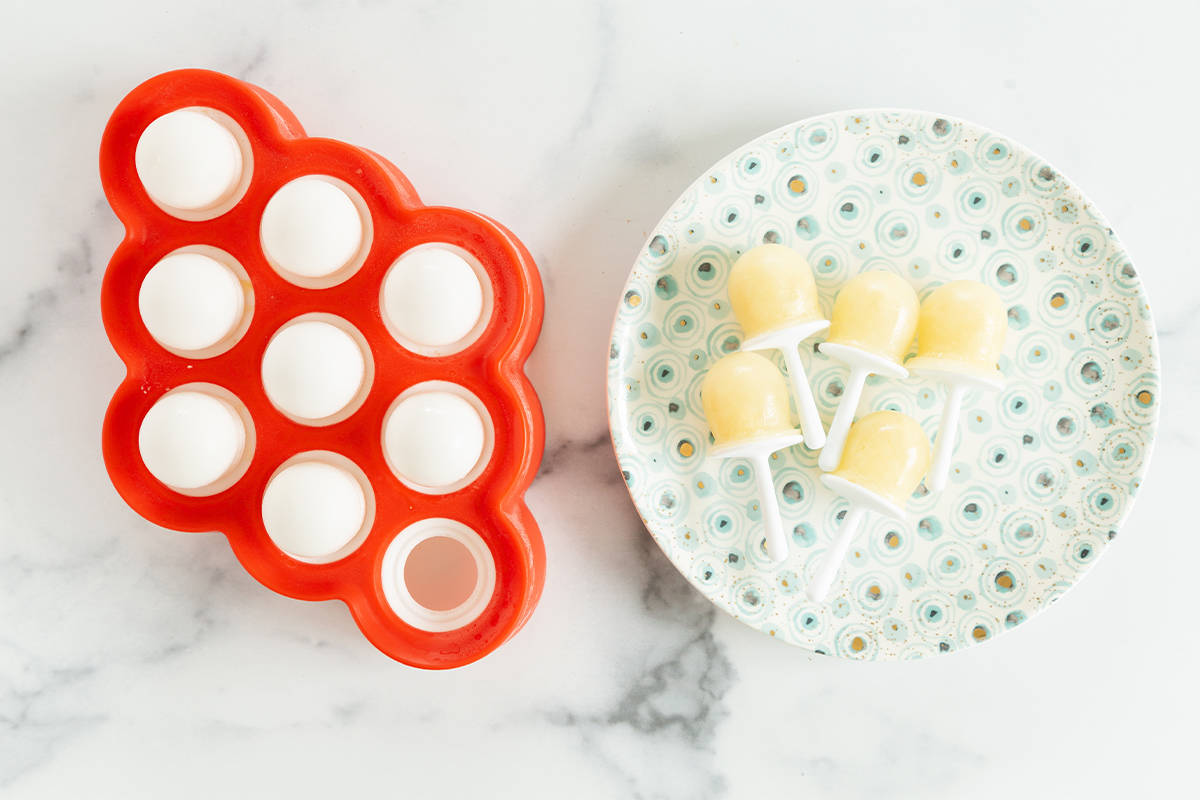
Favorite Popsicle Molds
We love the mini popsicle molds from Zoku, which are a perfect toddler size. We’ve used this mold for seven years and have never had a popsicle come off of the stick, so they are a safe option for the young age.
Best Tips for Success
- Transfer the frozen popsicles to a freezer bag, remove as much air as possible, and seal. Freeze for up to 6 months.
- Blend smooth in a blender if you prefer to have a completely smooth popsicle, though know that just chopping them yields a pretty smooth result, too.
- To make this with fresh pears, freeze my Pear Puree and serve as a popsicle.
- Try my mango popsicles, too.
Related Recipes
I’d love to hear your feedback on this post, so please rate and comment below!
Easy Pear Popsicles
Ingredients
- 14- ounce can pears in juice
Instructions
- Pour the pears and juice into a bowl. Roughly chop up with kitchen scissors or mash slightly with a potato masher.
- Portion into popsicle molds. Freeze for at least 4 hours or overnight.
- Release from the popsicle mold and serve.
Equipment
Notes
- Transfer the frozen popsicles to a freezer bag, remove as much air as possible, and seal. Freeze for up to 6 months.
- Blend smooth in a blender if you prefer to have a completely smooth popsicle, though just chopping them yields in a pretty smooth result, too.
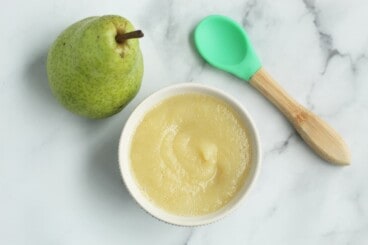
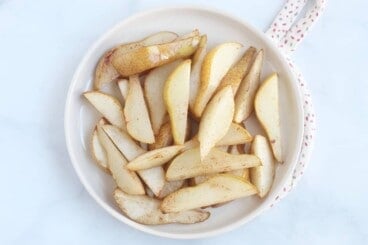
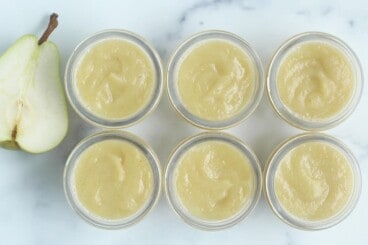
- To make this with fresh pears, freeze my Pear Puree and serve as a popsicle.





Do you think you could add in pureed other fruits (like peach)? My kids don’t love pear (yet) but I’d like to try the pear for the constipation element. Thanks!
sure!