You know those toasted Coconut Chips that come in a tiny bag for $5 at the store? They are SO easy to make at home (in less than 20 minutes!) and for a lot less. They are great on their own or sprinkled over top of oatmeal or yogurt.
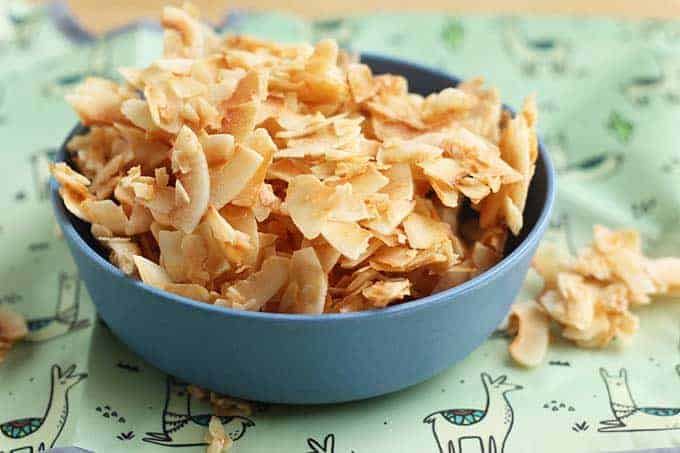
I love figuring out that some of our favorite store-bought snacks for kids are actually super easy to make at home and this coconut chip recipe is exactly that. They are easy to mix and bake, and taste nearly identical to the pre-made kind from Dang. And they are a fun and crunchy toddler snack that can be a fun change from the expected.
A package of store-bought coconut chips is usually close to $2 for one ounce. A bag of plain coconut chips, which is the base of this recipe, is usually $4 or less for 7 ounces. Which means that you can make one batch of homemade coconut chips for half the cost of buying them pre-made—and they are so darn easy to make!
(You may also like Yogurt Dip for Fruit, Coconut Rice or Coconut Chia Pudding.)
Table of Contents
Your toddler won’t eat? Help is here!
Sign up for our email updates to get tips and ideas sent to your inbox.
Ingredients You Need
To make these coconut chips you’ll need to have the following ingredients on hand and ready to use.
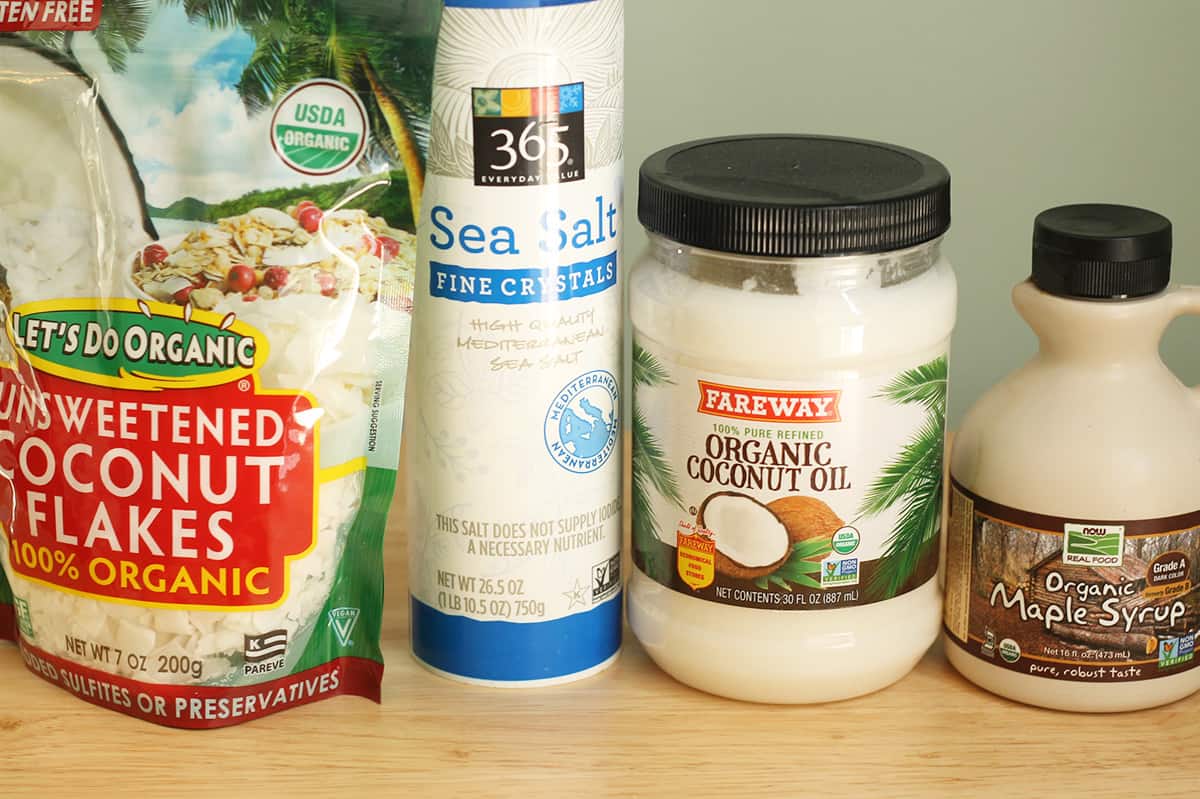
- Unsweetened coconut flakes: Look for these larger pieces of coconut in the baking aisle of your grocery store.
- Salt: A tiny amount of salt balances the sweetness of the other ingredients.
- Coconut oil: Tossing the coconut flakes in coconut oil helps them toast up with a crunchy texture.
- Maple syrup: A little maple syrup adds pleasant sweetness to the recipe.
TIP: I recommend that you bake these on a parchment-lined baking sheet for easy clean up and to avoid any risk of sticking.
Step-by-Step Instructions
To make these coconut chips, here are the steps you’ll need to take. Scroll down to the bottom of this post for the full information.
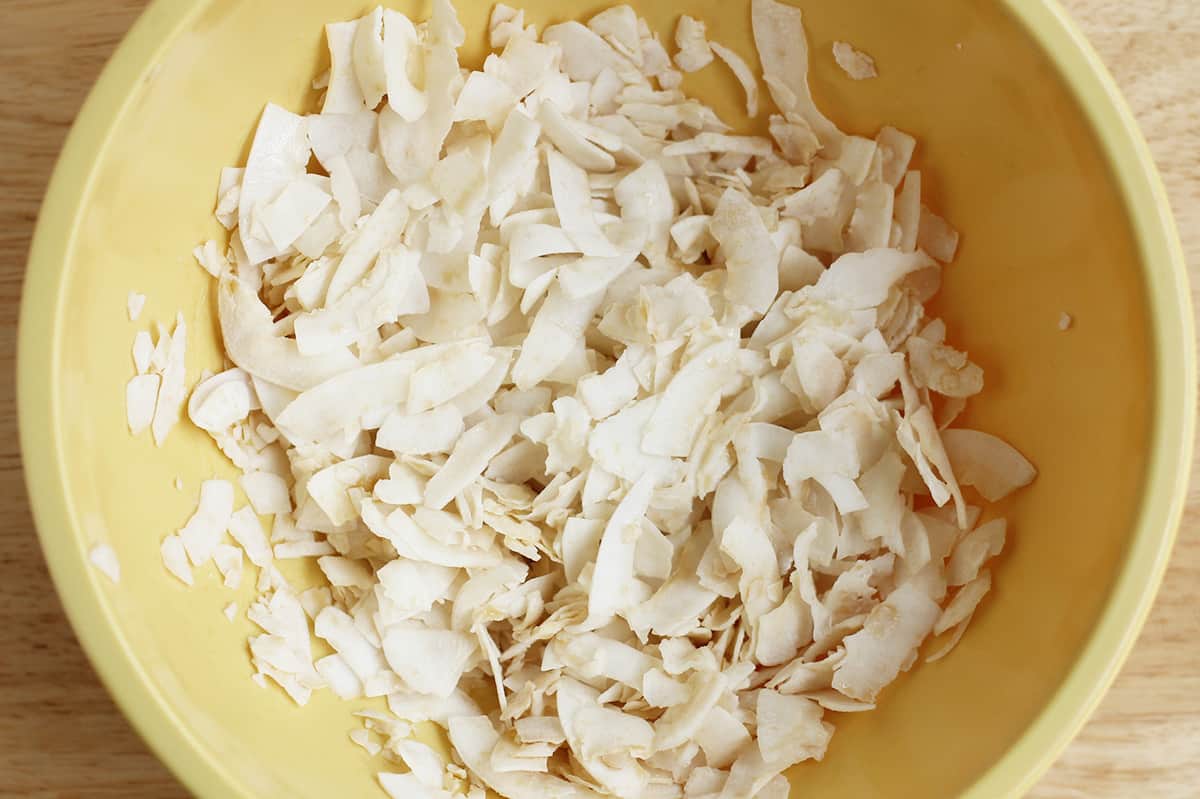
Step 1. Toss the ingredients together in a bowl.
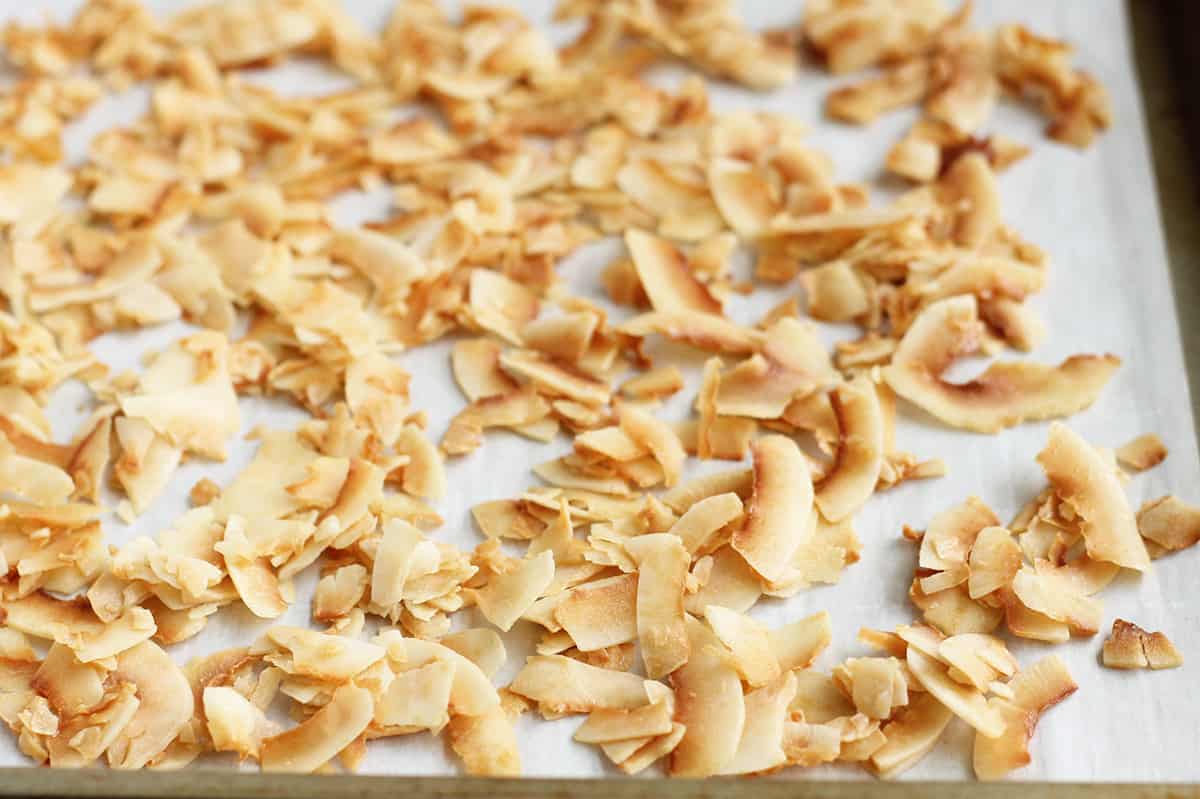
Step 2. Spread coconut out on a parchment-lined baking sheet. Bake then let cool completely.
Frequently Asked Questions
They are rich in fat, vitamin B, minerals and other nutrients.
Yes.
They are great on their own or sprinkled over top of oatmeal or yogurt. I personally also love them as dessert with a few chocolate chips.
Serving Suggestions
We love to eat these coconut chips as an afternoon snack alongside some fruit or to add them to morning oatmeal with fruit or yogurt for toddlers. I personally also love them as dessert with a few chocolate chips.

What’s the texture of these like?
These are crunchy, but not super sharp (like a tortilla chip might be), but crush them up a bit for younger eaters if you’d like. And be sure to serve with a drink since they can be a little dry.
TIP: Coconut is considered a nut, so check with your school or preschool to see if these are safe to pack in a lunch if you need peanut-free snacks. (You can pack them alongside a Homemade Lunchable for a super fun lunch if allowed!)
Best Tips for Success
- Store in an airtight container at room temperature for up to a week.
- Eat as a snack or serve over yogurt, oatmeal, or in cereal.
- Be sure to spread the coconut evenly on the baking sheet to ensure even baking.
- Let cool fully on the baking sheet so crunchy little clumps form.
- Start on the lower end of the baking time and check every minute or so to avoid burning. (I’ve never had mine burn on this low temperature but just to be safe!)
- For more homemade snacks, try my Graham Crackers recipe, Cheese Crackers, Animal Crackers, and Roasted Chickpeas.
Related Recipes
Breakfast
Overnight Blueberry Baked Oatmeal
Breakfast
Easy Banana Scones
Breakfast
Favorite Coconut Chia Pudding
I’d love to hear your feedback so please comment below to share your experience with the recipe!
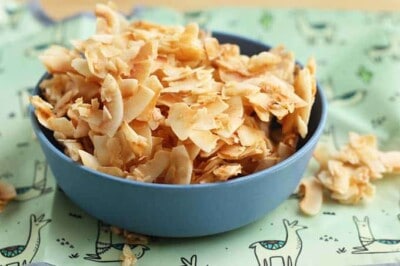
Easy Coconut Chips
Ingredients
- 2 cups shredded unsweetened coconut flakes
- 1 tablespoon maple syrup
- 1 teaspoon canola oil (or melted coconut oil)
- 1/8 teaspoon salt
Instructions
- Preheat the oven to 275 degrees F and line a rimmed baking sheet with parchment paper.
- Stir together all ingredients in a medium bowl.
- Spread onto the prepared baking sheet and bake for 10-20 minutes or until the coconut is golden brown. Put your timer on the lower end of the baking time and check every two minutes—you want uniform golden brown—to avoid over browning as some ovens run warmer than others.
- Let cool completely and serve.
Notes
- Store in an airtight container at room temperature for up to a week.
- Eat as a snack or serve over yogurt, oatmeal, or in cereal.
- Be sure to spread the coconut evenly on the baking sheet to ensure even baking.
- Let cool fully on the baking sheet so crunchy little clumps form.
- Start on the lower end of the baking time and check every minute or so to avoid burning. (I’ve never had mine burn on this low temperature but just to be safe!)
Nutrition
The post was first published on June 18, 2019.





You’re about to save my life right now! I mistakenly ordered FOUR bags of Thrive Coconut Chips which are not coconut chips at all but the large dehydrated flakes. I’m obsessed with bare coconut chips and thought wow what a good deal. I truly believe I will go bankrupt if I don’t learn how to make these myself because jeez they ARE expensive! Here’s hoping this works!
Finger crossed for you!
Where do you get coconut shreds that are big like yours? I’ve only seen them as smaller flakes.
They’re usually in the baking aisle near chopped walnuts and the smaller shredded coconut.
Thanks for this amazing easy recipe! These are soooo good! This has become my favorite snack, and everyone that tries them asks for the recipe. I have even added pumpkin seeds, almonds and cashews to the mix. The only problem is that they are sooo addicting I have a hard time not eating all of them. Definitely double the recipe!
Would these be freezable?
I don’t think so but you can store them in an airtight container at room temperature for a while.
WARNING: check every 3 minutes for the color of the coconut chips, or use a different recipe altogether. I followed this recipe of baking for 18 minutes at 275 degrees, and two cups of my coconut chips ended up charred!What a waste!
My second time I used a recipe to bake at 300 degrees for 5 minutes and the results were much better.
oh dear. this is awful. they’re so delicious! I can’t stop eating them! Help!!!
I know, they are so good!