If you and your kids love freeze-dried strawberries or strawberry chips sold in the convenient, but somewhat pricey packages, or you have a surplus of fresh strawberries, you will love this recipe for Oven-Dried Strawberries. It’s a simple method for drying fresh strawberries into what are basically chips. So good!

Oven-Dried Strawberries
These dried berries are sweet, flavorful, and contain just one ingredient: strawberries! Whenever strawberries are on sale, they’re a regular feature in our kitchen because my kids love them so much.
We love eating strawberries fresh, but sometimes the kids get a little bored with them, so this is a fun way to change up how I offer them.
(These are also great to take on the go since they’re less messy than fresh ones.)
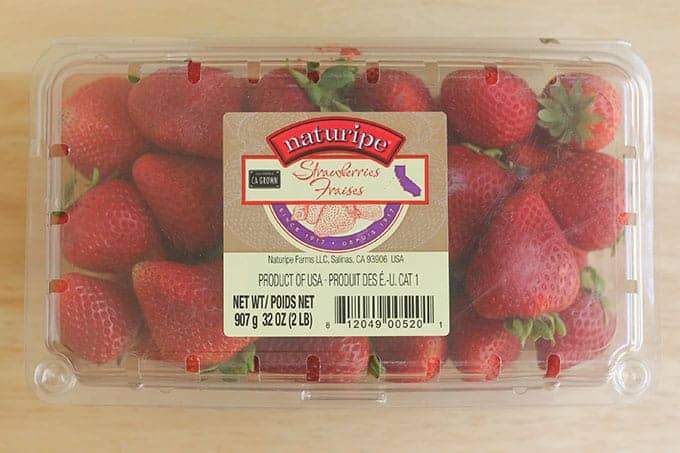
Ingredients You Need
To make this recipe, you just need fresh strawberries. You’ll want to use at least a quart or more to make sure you get enough at the end to make it worth the time it takes to bake them.
You can do one batch of these strawberries or double it to make plenty to share with the kids.
Step-by-Step Instructions
Here’s a look at the simple process involved in making this recipe so you know what to expect. Scroll down to the end of the post for the full information.
- Wash, dry, and trim the stems off of your berries.
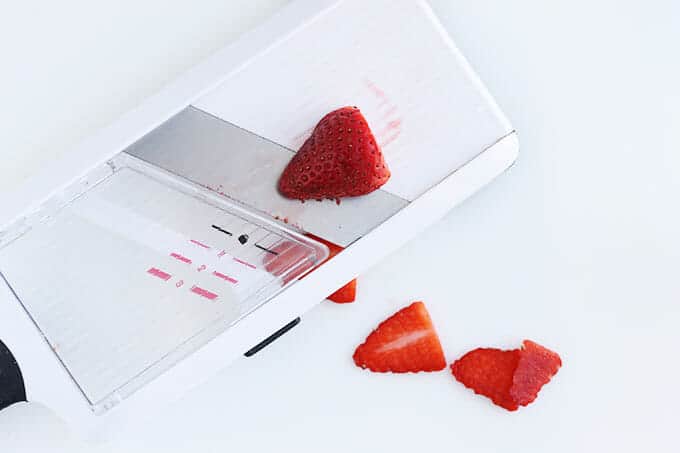
- Use a mandoline to slice into thin, even slices.
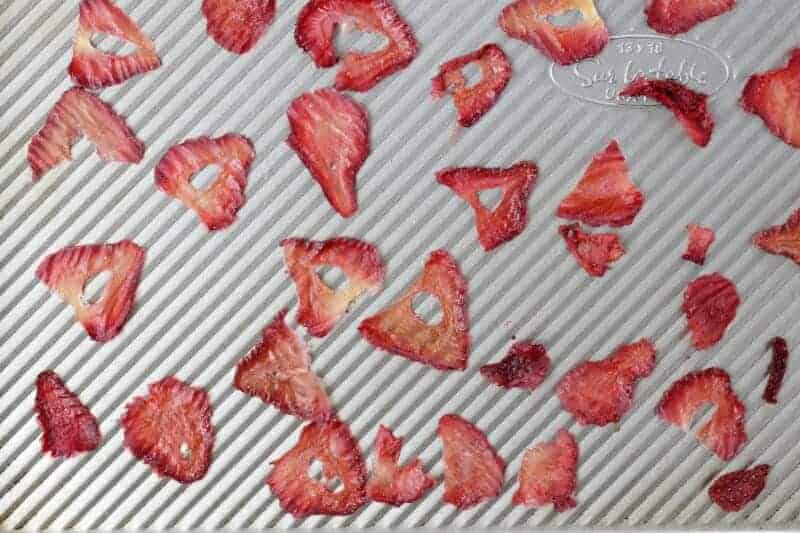
- Place on a baking tray lined with parchment paper (or you can use the kind of baking tray with ridges and skip the parchment paper as the ridges help prevent the food from sticking).
- Bake.
TIP: Let them cool completely on the pan before eating to ensure that they’re crispy.
Why should I make oven-dried strawberries at home?
Well, first, because they can cost so much at the store. And second, because they’re easy to make. Especially when you see fresh strawberries on sale, this is a great way to use some of them up.
These oven-dried strawberries are also a nice option to pack into a container when you want to serve a simple snack while on the go, since they don’t need to be kept cold and they totally taste like a treat.
Can I make these without a mandoline?
If you have very polished knife skills, you totally can, but for the rest of us, a mandoline makes cutting even and think slices easy. (Just use the guide that it comes with to protect your fingers from nicks!)
Do these homemade dried strawberry chips taste the same as store-bought?
Texture-wise, these aren’t quite as dissolvable as the freeze-dried fruit, but they have a very similar flavor. They are crunchy, but easy to chew, and are just ever so slightly sticky like fruit leather. They are a fun snack for older toddlers and big kids—and, of course, mom and dad.
Can I make this recipe in a dehydrator?
Sure! Refer to the instruction booklet that your dehydrator came with to get an idea of how long they’ll need to be in there. Mine takes about 6-8 hours to make dried strawberries assuming they’re all sliced uniformly thin.
How to Store
Honestly, we almost always eat a batch on the day we make them, but they’ll last for about 3 days in an airtight container stored at room temperature.
Best Tips for Success
- Use a mandoline slicer to make thin, uniform slices.
- Place on a parchment-lined baking sheet or use a baking sheet with raised ridges to prevent sticking.
- Let cool completely before eating for the best texture.
Related Recipes
I’d love to hear your feedback on this recipe if you try it, so please comment below to share!

Oven-Dried Strawberries
Ingredients
- 5-6 strawberries (stems removed)
Instructions
- Preheat the oven to 200 degrees F. Line a rimmed baking sheet with parchment paper.
- Wash, dry, and remove the stems from the berries.
- Use a mandoline to make slices that are about 1/8-inch thick (on my mandoline, the notch is between the 1 and the 2). Spread out on the prepared baking sheet without overlapping and bake for 60 minutes. Carefully turn the slices over.
- Bake for an additional 15-30 minute or until mostly firm (and not sticky) to the touch. Remove pan from the oven and let cool on the sheet. (They crisp a little further as they cool.) Serve immediately or store in an airtight container for up to 2 days and store at room temperature.
Equipment
Notes
- Use a mandoline to make thin, uniform slices.
- Place on a parchment-lined baking sheet or use a baking sheet with raised ridges to prevent sticking.
- Let cool completely before eating for the best texture.
Nutrition
This post was first published April 2018.








I didn’t see what temperature to bake them at and for how long.
It’s at the end of the post!
Give the slices a quick dunk in lemon water before drying and they won’t brown as much and they’ll taste brighter when dried.
When you say directially on the sheet do you mean the pan or paper
Yes!
What if I don’t have any parchment paper on hand?
How long do they last at room temperature?
1-3 days. They stay crisp overnight but may start to soften after two days depending on the humidity in your house. It’s not a huge batch though, so we never have a problem eating them quickly!