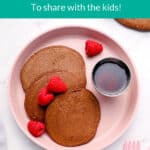
Make breakfast much more fun for everyone in the family with these fluffy Chocolate Pancakes. They’re easy to stir together, simple to make in festive shapes (if you want!), and even delicious as leftovers.
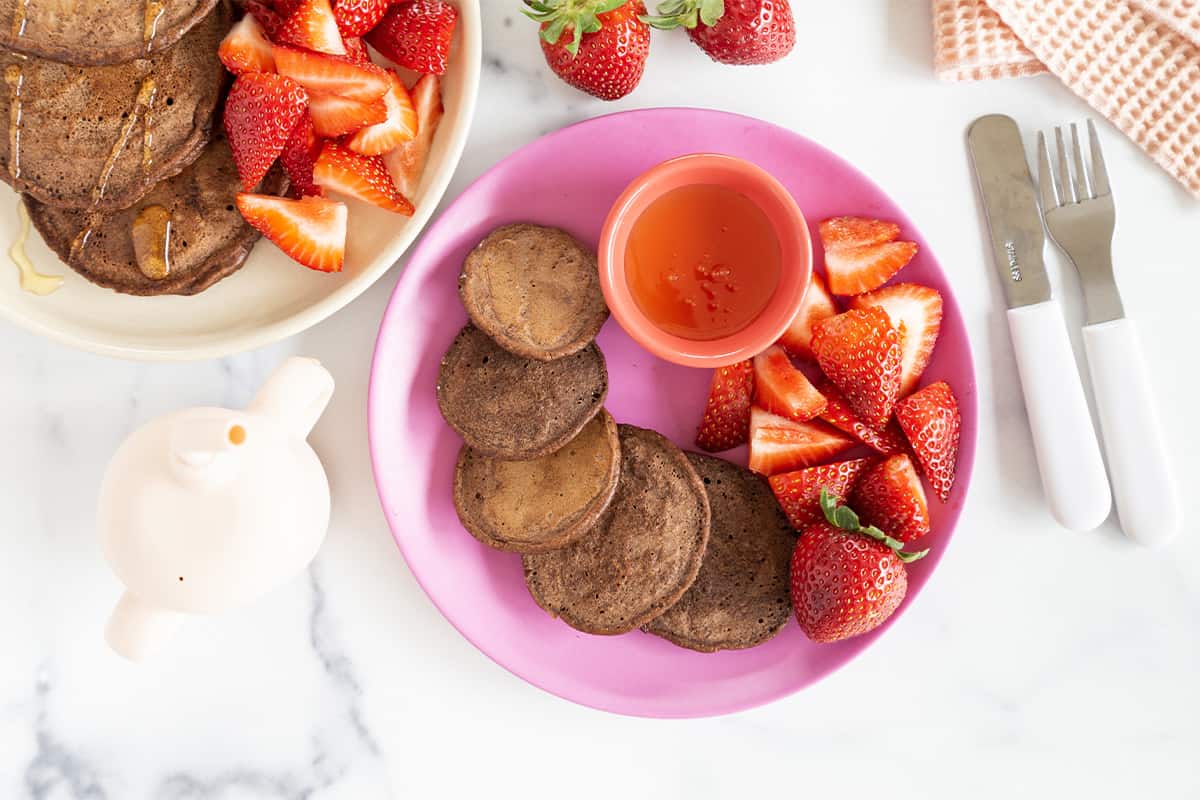
One thing I’ve tried to do since having kids is start and maintain food traditions. For most of my parenting years, we’ve lived far away from family (though that just changed, which is exciting!), so we always had to make our own holiday fun.
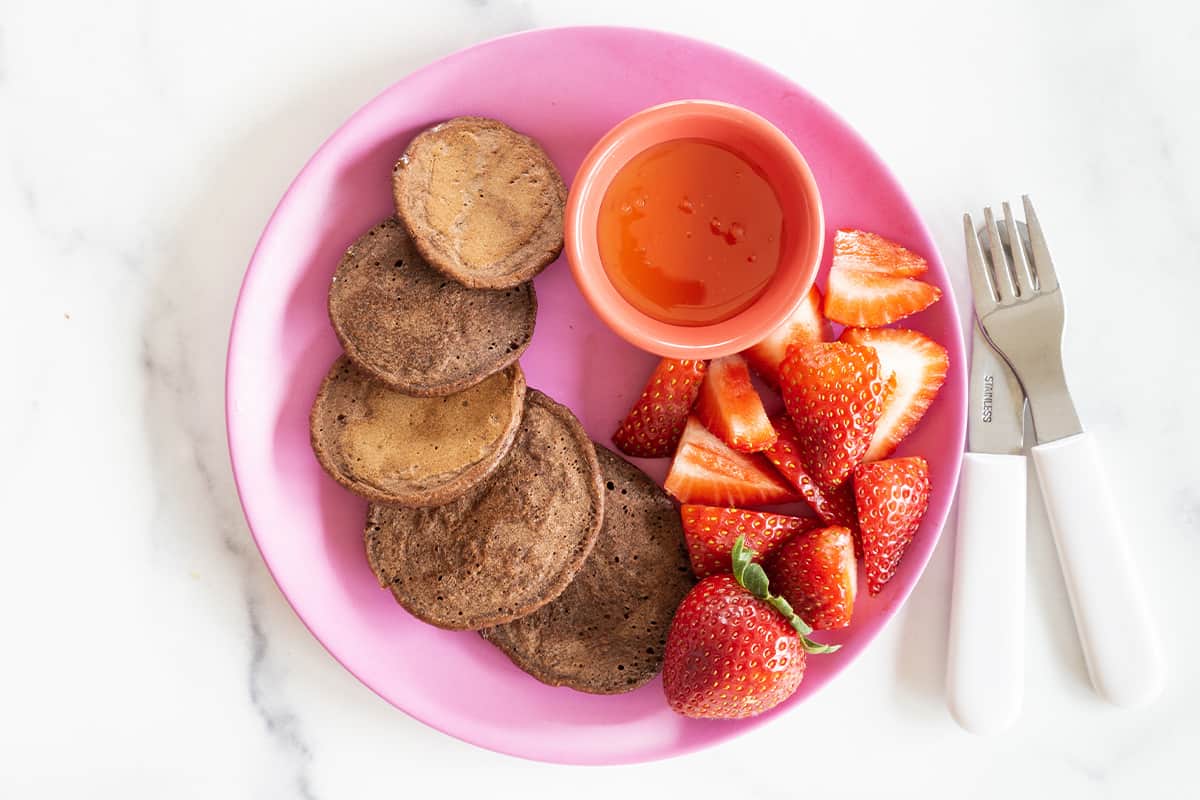
These Chocolate Pancakes are my favorite Valentine’s Day breakfast to share with my family. (Well these and my Chocolate Muffins and Strawberry Pancakes!)
The nourishing pancakes have fiber, protein, and complex carbs, and aren’t too sweet. They have a hefty dose of cocoa flavor, so they tend to make everyone happy.
They walk the line between nutritious and indulgent and are a favorite weekend breakfast in our house…whether we make them as heart shapes or just as regular circles. They are so good topped with whipped cream, berries, maple syrup…whatever you prefer.
(You may also like my Double Chocolate Muffins, Chocolate Covered Bananas, Vegan Chocolate Cupcakes, Chocolate Chip Pancakes, or Healthy Chocolate Cake.)
Table of Contents
Your toddler won’t eat? Help is here!
Sign up for our email updates to get tips and ideas sent to your inbox.
Ingredients You Need
To make these pancakes, you’ll need the following ingredients on hand, so check the pantry or plan to get them at the grocery store.
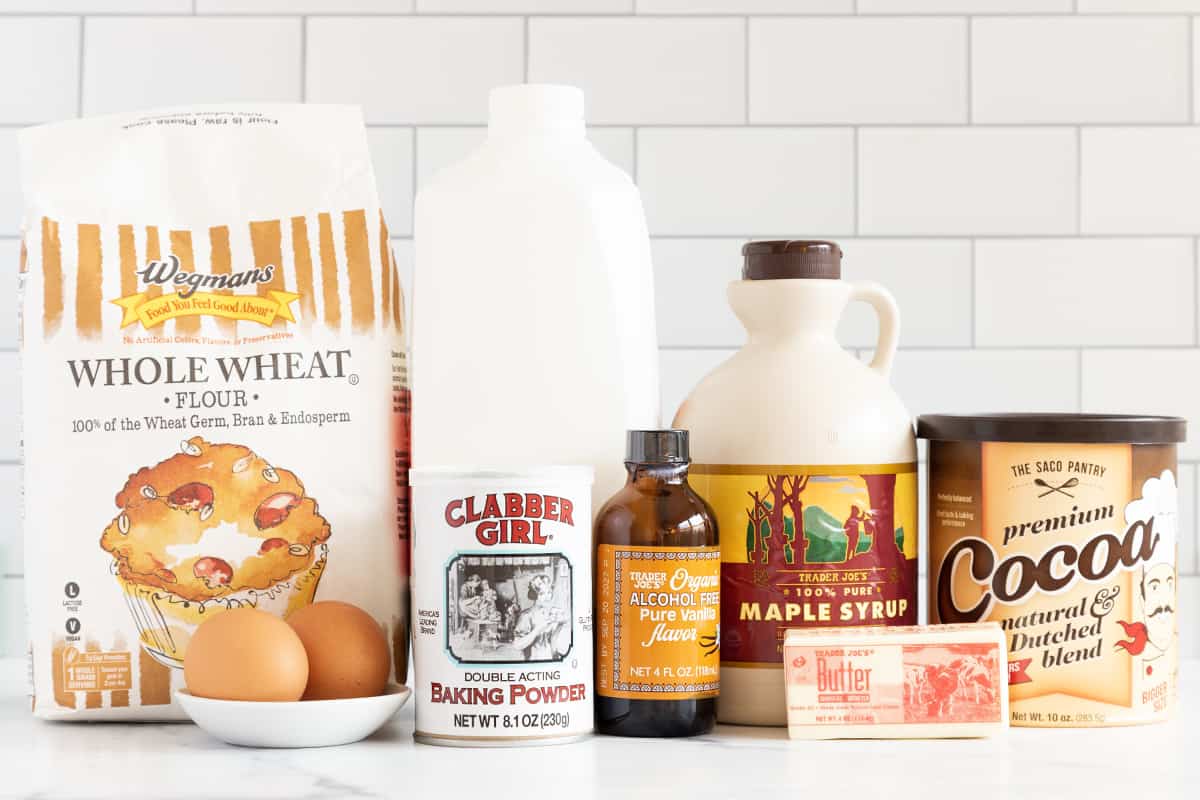
- Whole wheat flour: This provides a nutritious base for the batter and bakes up fluffy and light.
- Cocoa powder, sifted: I usually sift the cocoa powder to remove any little lumps of cocoa powder. I use SACO, Hershey’s Special Dark, or Trader Joe’s brand.
- Baking powder: You’ll need fresh baking powder to ensure the pancakes rise and bake through properly.
- Milk: You can use dairy or unsweetened plain nondairy, so use the one you prefer.
- Maple syrup: This is an excellent topping for the pancakes.
- Vanilla extract
- Eggs: I use large eggs in my cooking and baking. Any type will work just fine.
- Melted butter or neutral oil for the batter and for cooking. This will help ensure the pancakes don’t stick to your pan or griddle.
TIP: Swap in nondairy milk and oil to make these dairy-free. Use gluten-free flour blend to make them without gluten.
Step-by-Step Instructions
Here’s a look at the process involved in making this breakfast recipe so you know what to expect. Scroll down to the bottom of the post for the full recipe including the amounts and the timing.

Step 1. Mix the wet ingredients in a bowl. Whisk the dry ingredients together in a separate medium bowl.

Step 2. Whisk the two mixtures together in a large bowl.

Step 3. Heat your pan. Place a small amount of batter on the pan and cook until the edges are set and you see small bubbles.

Step 4. Flip carefully and cook through on the other side.
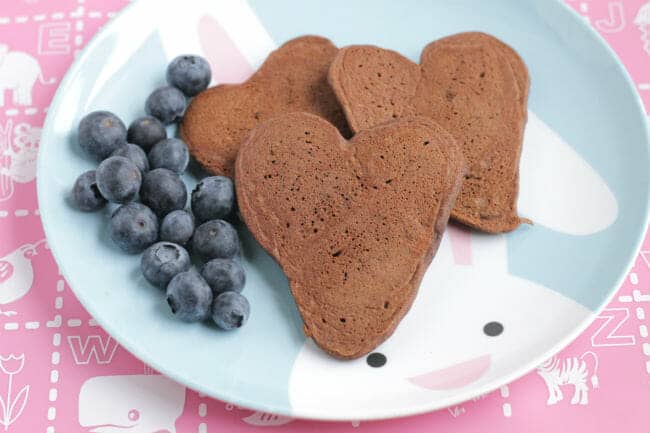
You can also cook these in heart shapes. Simply make a “V” shape with the batter, then spread it out to fill in a heart. Be a little more gentle when flipping these, but otherwise cook them like typical pancakes.
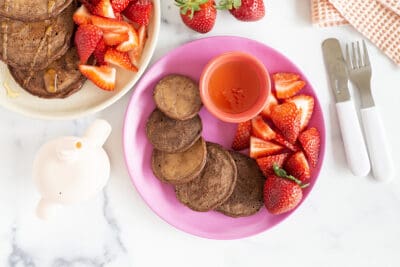
Serve with maple syrup, fruit such as fresh berries, or another favorite dip or topping.
It has a tendency to be lumpy and those lumps are a little hard to get out without overworking the batter. By placing the cocoa powder through a fine-mesh sieve, you can get the lumps out to make a better overall batter.
We like the traditional butter and maple syrup, or warmed frozen blueberries to make a quick fruit sauce, diced fresh fruit, or another fruit sauce. You could also do nut or seed butter, like peanut butter, if that sounds good to you, or a fruit yogurt or chocolate sauce or chocolate syrup to go all out.
Essentially, we replace a little flour in a traditional pancake recipe with sifted cocoa powder to add flavor without drying them out.
You can and they’re really yummy that way! Add 1/4-⅓ cup to the batter and cook as directed. You could also add blueberries or sliced banana as a fruit addition option!
How to Store
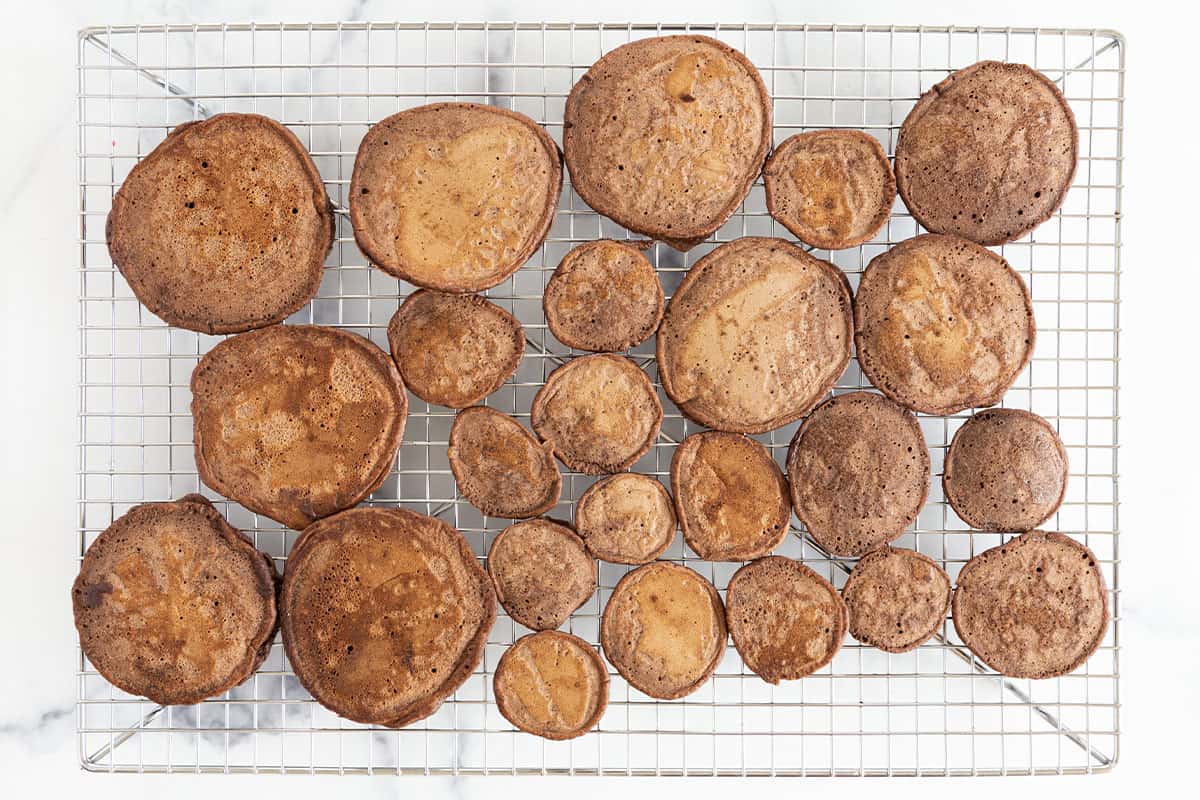
Let any leftovers cool fully on a wire rack and store in an airtight container in the fridge for 3-5 days or in the freezer for up to 3 months. Reheat in 15-second increments in the microwave.
Sometimes we sandwich nut butter between two pancakes for a fun pancakes sandwich.
Best Tips for Success
- Sift the cocoa powder to ensure you remove any lumps.
- Use gluten-free cup-for-cup flour if needed.
- Use nondairy milk and oil (instead of butter) to make these dairy-free.
- Use a store-bought egg replacer like the one from Bobs Red Mill to make them egg-free.
- I prefer to cook pancakes in a nonstick skillet or a well-greased cast-iron skillet.
- Top with maple syrup, berry yogurt, or any other topping you like.
- Sweeten the batter a little more if your family prefers sweeter pancakes
Related Recipes
Desserts
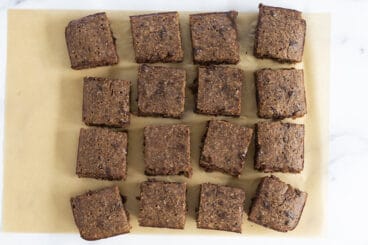
Easy Black Bean Brownie Bites
Muffins
Fluffy Chocolate Muffins
Desserts
Healthy Brownies (with Banana)
Recipes
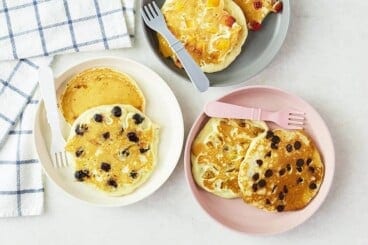
Favorite Yogurt Pancakes
I’d love to hear what you think of this recipe if you try it so please comment below with feedback!
Favorite Chocolate Pancakes
Ingredients
- 1¼ cup whole wheat flour
- ¼ cup cocoa powder (sifted to remove lumps)
- 2 tablespoons sugar (or maple syrup)
- 2 teaspoons baking powder
- ¼ teaspoon salt
- 1 cup milk (dairy or unsweetened plain nondairy)
- 1 teaspoon vanilla
- 2 eggs, lightly beaten
- 2 tablespoons melted butter or neutral oil
- Neutral oil or butter (as needed for cooking)
- Maple syrup, berries, Berry-Yogurt Sauce, or other desired toppings (optional for serving)
Instructions
- Mix the flour, cocoa powder, sugar, baking powder, and salt together in a medium bowl.
- Whisk in the milk, vanilla, eggs, and melted butter in a separate bowl. The batter should be fairly thin and should fall easily off a spoon.
- Heat a nonstick or cast-iron pan over medium heat. Grease with nonstick spray or butter. Drop batter by ¼ cup portions (or bigger or smaller, depending on your preference). To make hearts, make a "V" shape with the batter and spread into a heart until about ¼ inch thick. Cook until edges are set and you see small bubbles, about 2 minutes.
- Flip carefully and cook through on the other side, about 2 minutes more. Serve, or place cooked pancakes onto a baking sheet and keep warm in a 225-degree-F oven. Cook the rest of the batter.
- Serve warm with Berry Yogurt Spread—or maple syrup or nut butter. (These are best with a topping as they are not very sweet on their own.)
Video
Notes
- To Store: Let any extras cool fully, and store them in an airtight storage container or freezer bag in the fridge or freezer for later use. Warm in 15- to 30-second intervals in the microwave until thawed, if frozen, and warm.
- Berry Topping: This is a delicious (and protein-packed) alternative to maple syrup. Make it the day before or start it before you start the pancakes so the berries have a chance to cool. Place 2 cups blueberries into a small saucepan. Warm on low, stirring occasionally, until thawed and starting to break down and release their juices, about 15 minutes. Remove from heat and let cool. Stir together with ¼ cup whole-milk plain yogurt. Serve with the pancakes.
- Gluten-free: Use gluten-free flour blend in place of the whole wheat flour.
- Dairy-free: Use oil instead of butter and a favorite nondairy milk.
- Egg-free: Use a store bought egg replacer like the one from Bob’s Red Mill.
- Cocoa powder has a tendency to be lumpy and those lumps are a little hard to get out without overworking the batter. By placing the cocoa powder through a fine-mesh sieve, you can get the lumps out to make a better overall batter.
- You can also top with maple syrup, nut butter, applesauce, or yogurt.
- Add up to ¼ cup sugar for more sweetness in these.
Nutrition
This post was first published February 2018.









Delicious!
If we wanted to make these into a sheet pan recipe, would it be similar instructions for other sheet pans? 400 degrees in the oven?
Yes, for 10-12 minutes. Enjoy
These are a family favorite!
If I wanted to use buttermilk instead of milk, would I need to change any other ingredients?
I don’t think so. Enjoy!
Added an extra tablespoon or two of dairy-free milk, and then baked them in the waffle iron. I used a heart-shaped cookie cutter for my granddaughter’s portion and I ate the scraps, so no waste. This recipe crisped up beautifully as waffles.
So glad to hear that!